DKM KARLSRUHE
WSW MODELLBAU - 1:700
Año de construcción / Year of build: 2026
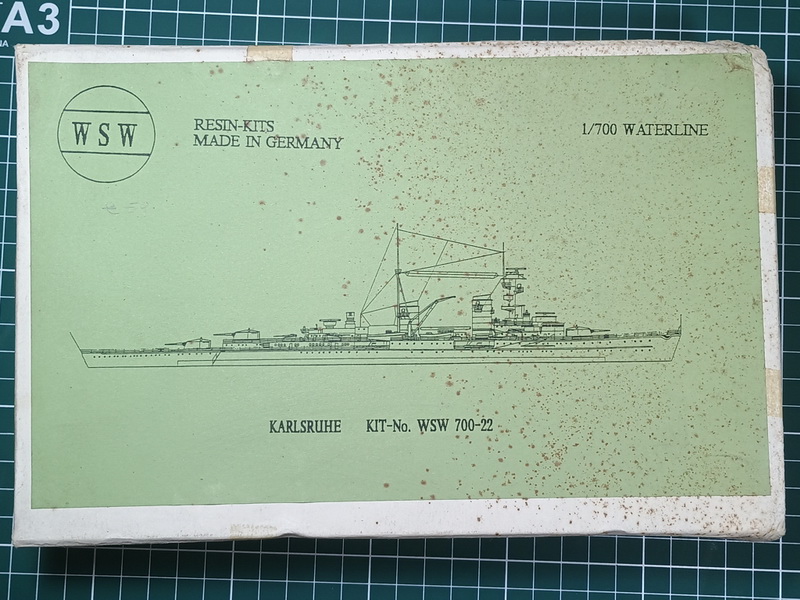
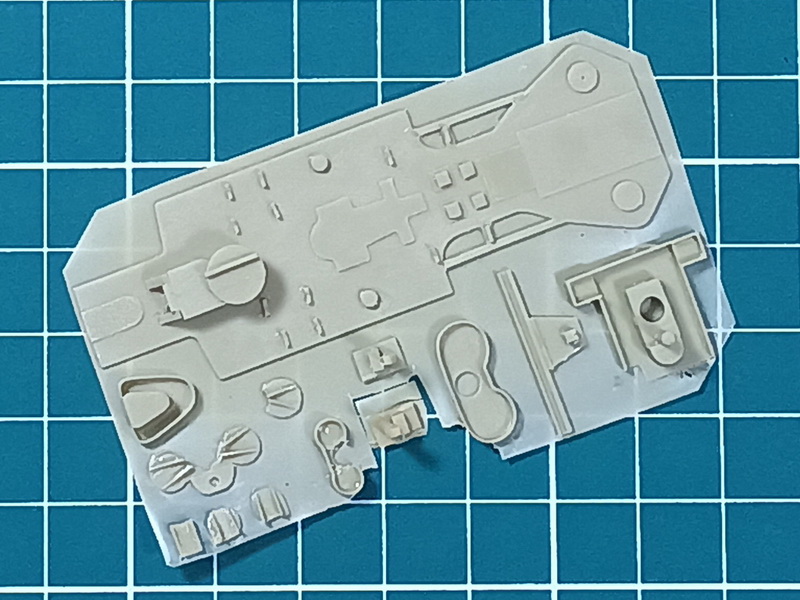
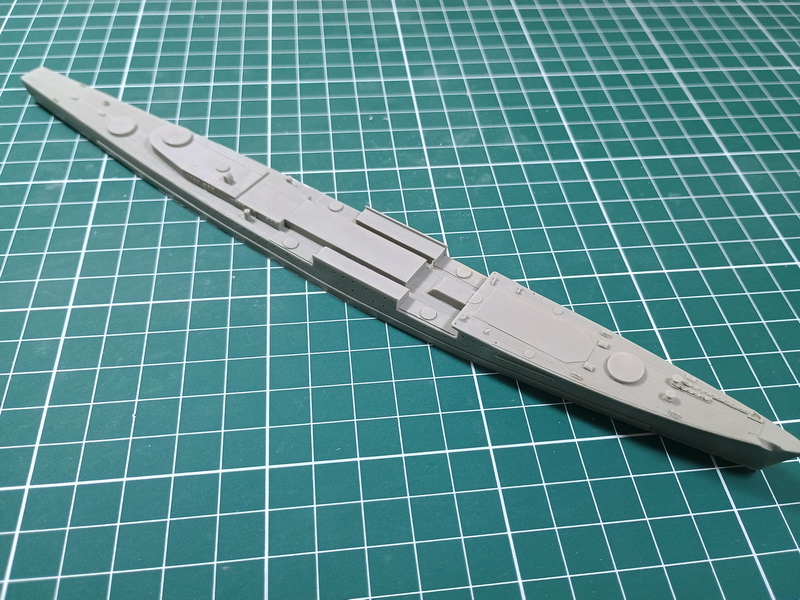
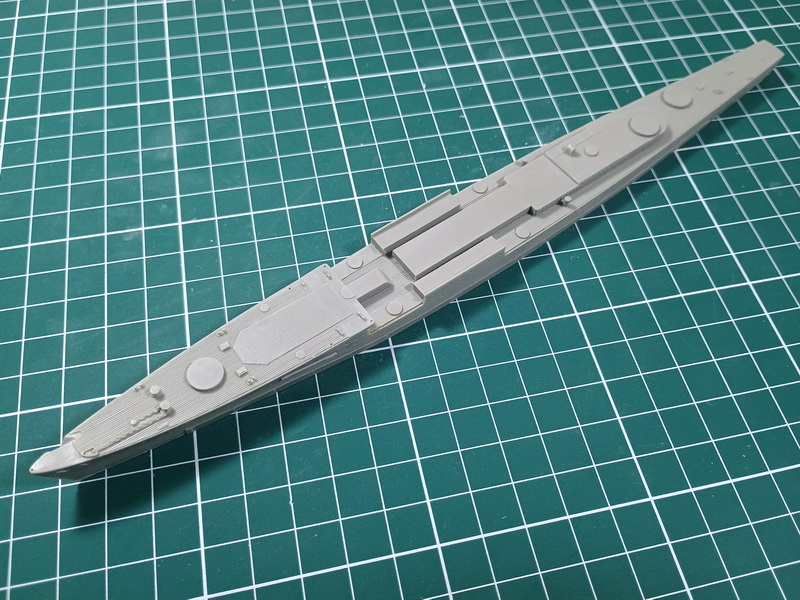
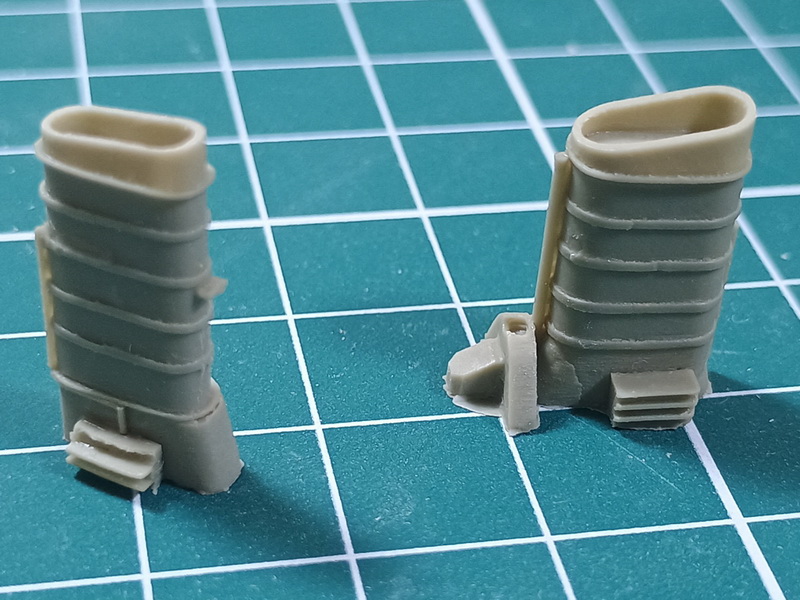
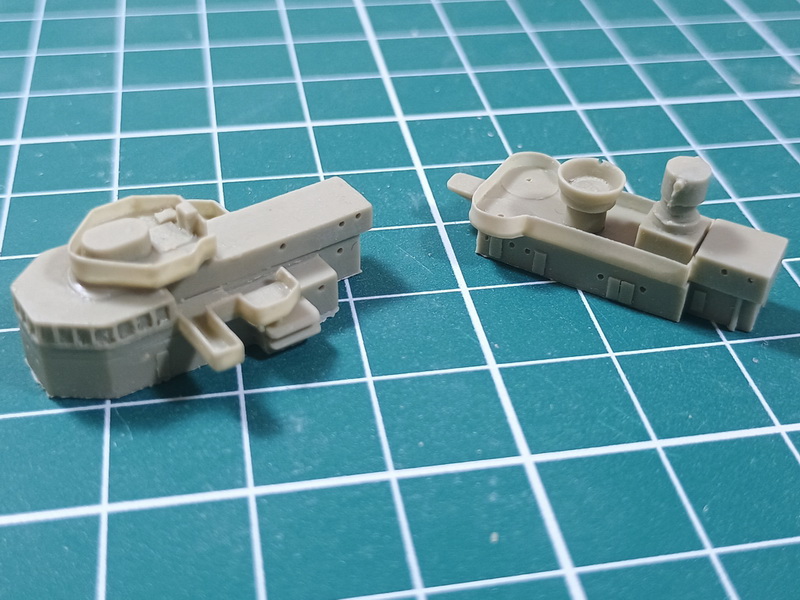
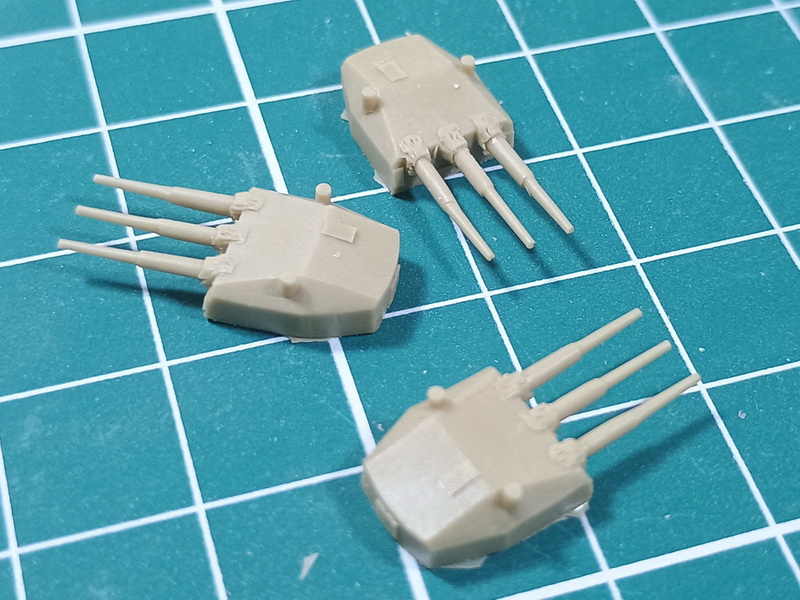
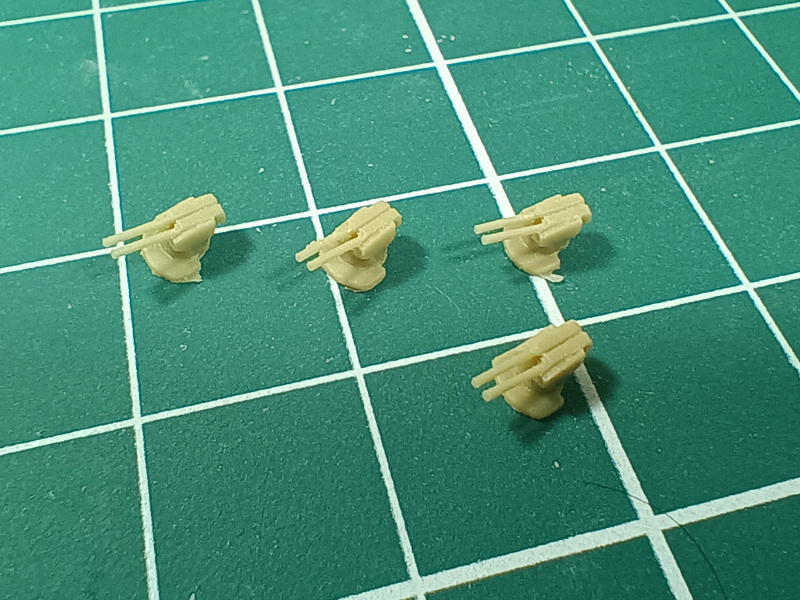
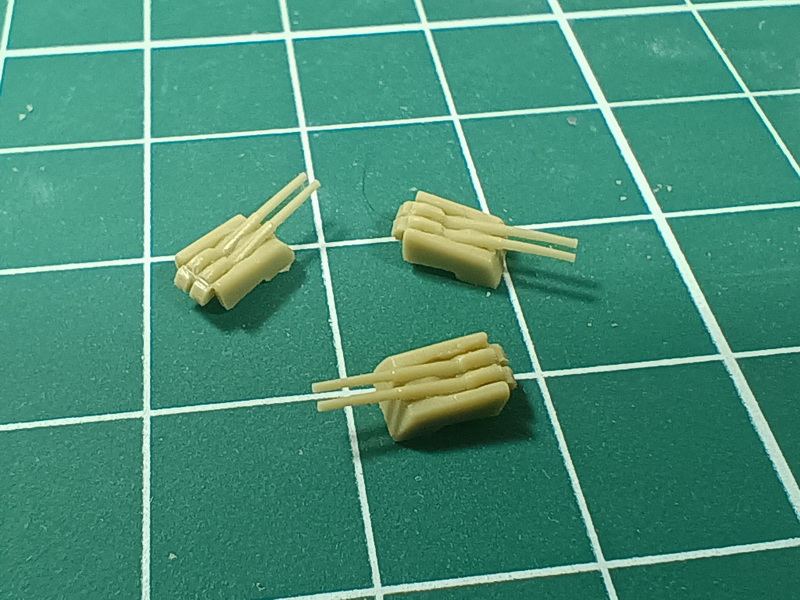
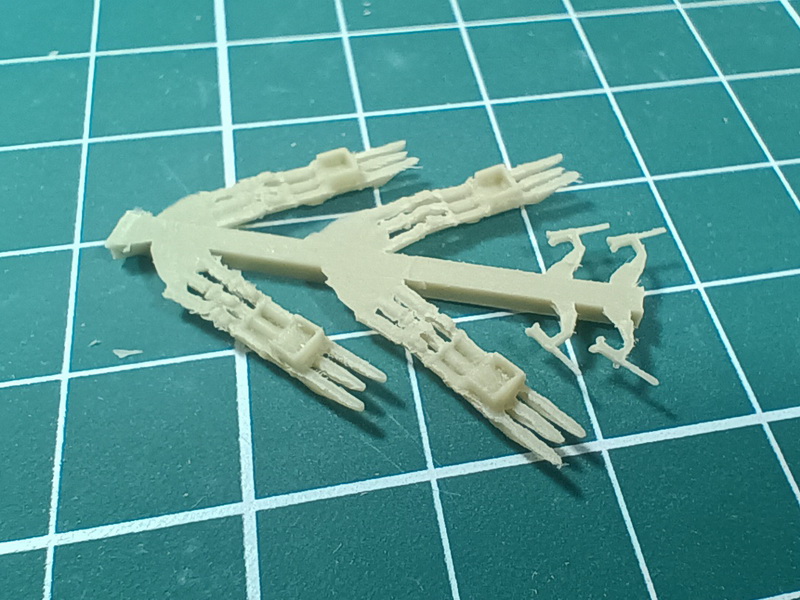
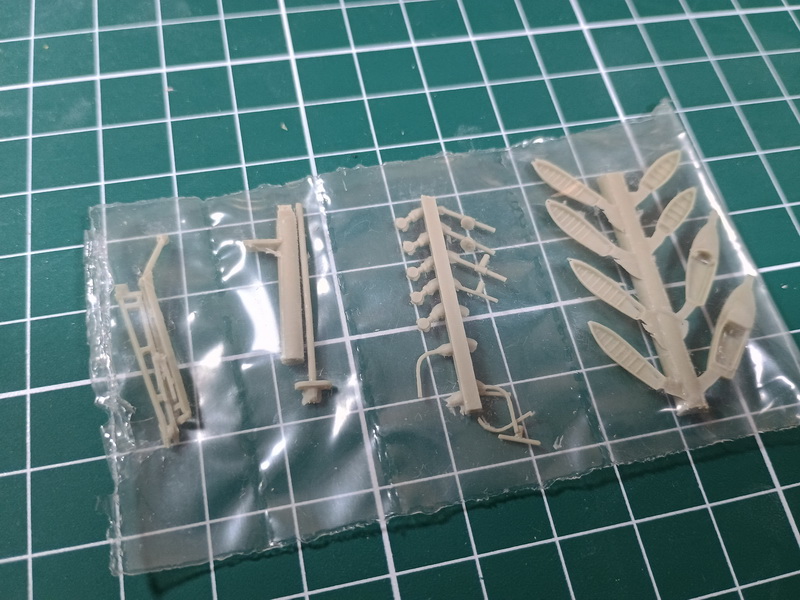
Este kit está diseñado para modelistas intermedios o avanzados que buscan una representación fiel y con un nivel de manufactura artesanal superior al plástico inyectado tradicional de la época. El modelo viene en una caja sencilla, típica de los fabricantes de resina de baja producción. Al abrirlo, lo primero que destaca es la limpieza del moldeado. A diferencia de otras marcas de resina que entregan las piezas en bloques macizos difíciles de cortar. El casco viene en una sola pieza (formato Waterline) y presenta una superficie lisa, sin burbujas de aire (un problema crónico en kits de resina de gama baja). El detallado de la cubierta de madera está muy bien escalado, sutil pero definido. Las piezas medianas y pequeñas están dispuestas sobre finas láminas de resina o unidas a canales mínimos, lo que reduce drásticamente el riesgo de romper piezas delicadas al separarlas. Las torretas principales de 15 cm tienen formas correctas. Los detalles más pequeños (botes salvavidas, ventiladores, superestructuras del puente y plataformas) no sufren de ese aspecto de "bloque amorfo" que suele verse en la resina antigua; mantienen bordes y formas nítidas. Se proveen varillas de latón de dos diámetros distintos para que el propio modelista fabrique los mástiles. Esto es un gran acierto, ya que los mástiles de resina en 1/700 siempre se doblan o rompen. El kit representa al Karlsruhe en su última configuración (1940), justo antes y durante la Operación Weserübung (la invasión de Noruega, donde fue torpedeado y hundido).
This kit is designed for intermediate to advanced modelers looking for a faithful representation with a level of artisanal craftsmanship superior to traditional injection-molded plastic of the era. The model comes in a simple box, typical of low-production resin manufacturers. Upon opening it, the first thing that stands out is the cleanliness of the molding, unlike other resin brands that deliver parts on thick pour blocks that are difficult to cut. The hull comes as a single piece (Waterline format) and features a smooth surface, free of air bubbles (a chronic issue in low-end resin kits). The wooden deck detailing is very well-scaled—subtle yet sharp. Medium and small parts are arranged on thin resin wafers or attached to minimal pour gates, drastically reducing the risk of breaking delicate pieces during removal. The 15 cm main turrets are accurately shaped. The smallest details (lifeboats, ventilators, bridge superstructures, and platforms) do not suffer from that "amorphous blob" look often seen in older resin kits; they retain crisp edges and shapes. Brass rods of two different diameters are provided for the modeler to scratch-build the masts. This is a great touch, as 1/700 resin masts always bend or break. The kit depicts the Karlsruhe in her final configuration (1940), just before and during Operation Weserübung (the invasion of Norway, where she was torpedoed and sunk).
Para ver las imágenes en mayor resolución hacer click derecho sobre la misma y seleccionar "Ver imagen / Abrir imagen..."
To see the images in higher resolution, right click on it and select "View image / Open image..."
Construcción
Building
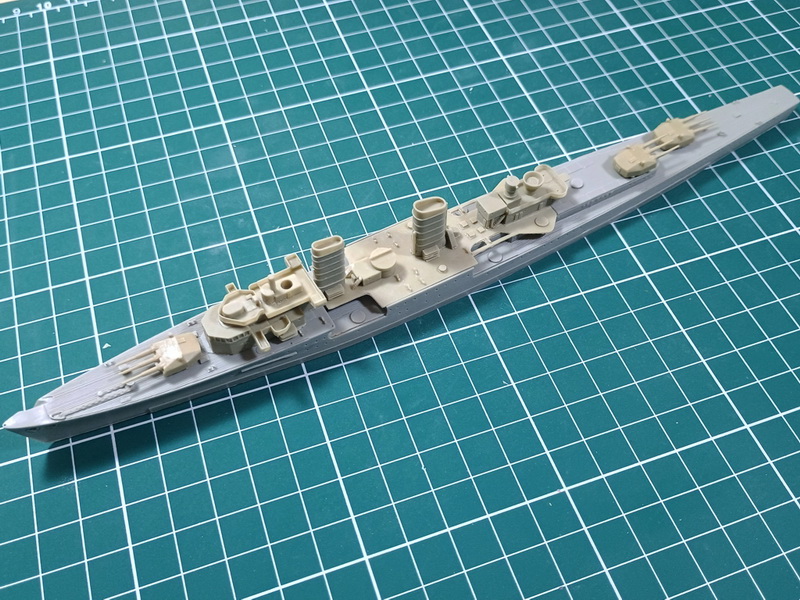
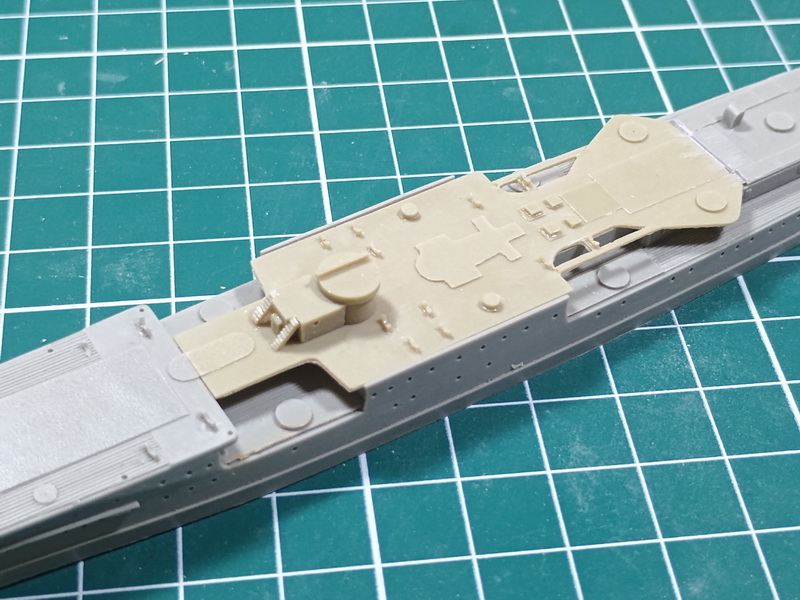
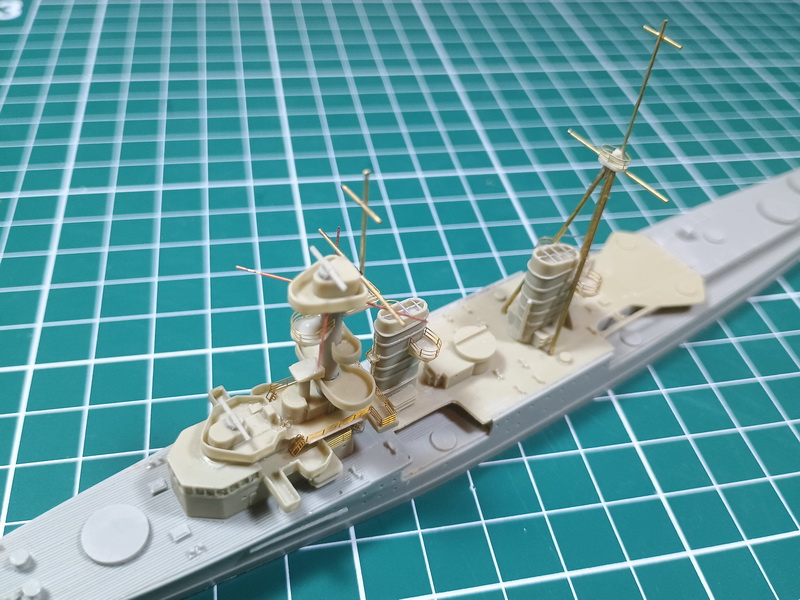
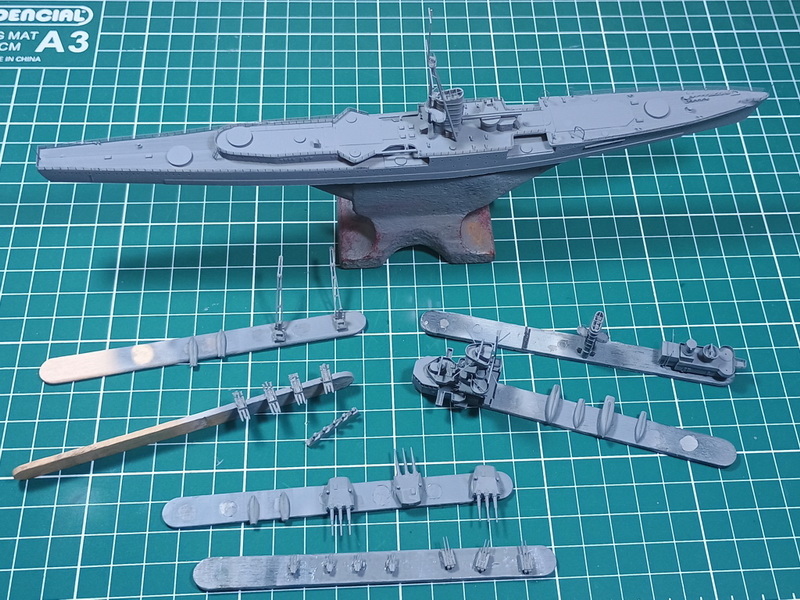
Los primeros pasos en la construcción del modelo fueron separar las piezas de la lámina de resina que las contenía, especialmente la sección central de la cubierta principal y los componentes del puente de mando. El trabajo con los modelos de resina requiere métodos muy diferentes a los que estamos acostumbrados con los kits convencionales. Luego de extraer las piezas de las planchas de resina es necesario emprolijarlas y retirar los excesos de material. Ahí podríamos trazar un paralelismo con los modelos de plástico inyectado, cuando al retirar las partes del sprue debemos quitar los restos de plásticos, rebabas, etc.
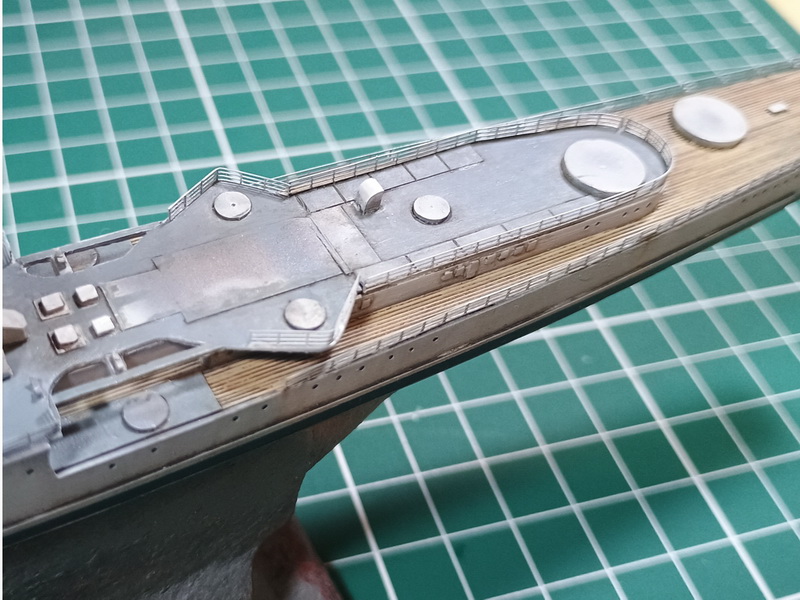
La colocación de la cubierta central sobre el resto del casco no representó mayores problemas, sólo fue necesario complementar con un poco de plástico la unión entre ambas partes y luego repasar con masilla y lija. En cambio, todo el sector del puente requirió un poco más de paciencia y precisión por tratarse de una zona con muchas estructuras que debían quedar bien posicionadas y alineadas y la falta de guías de encastre dificultaba un poco el armado.
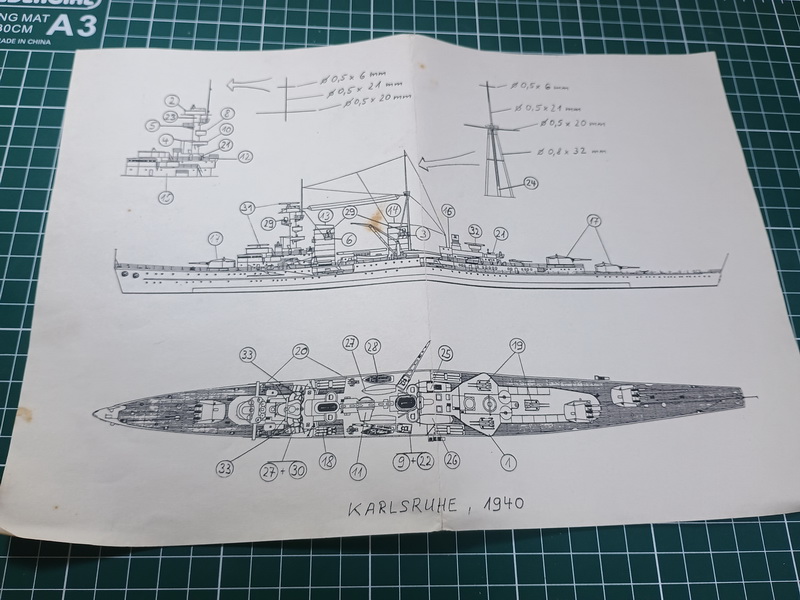
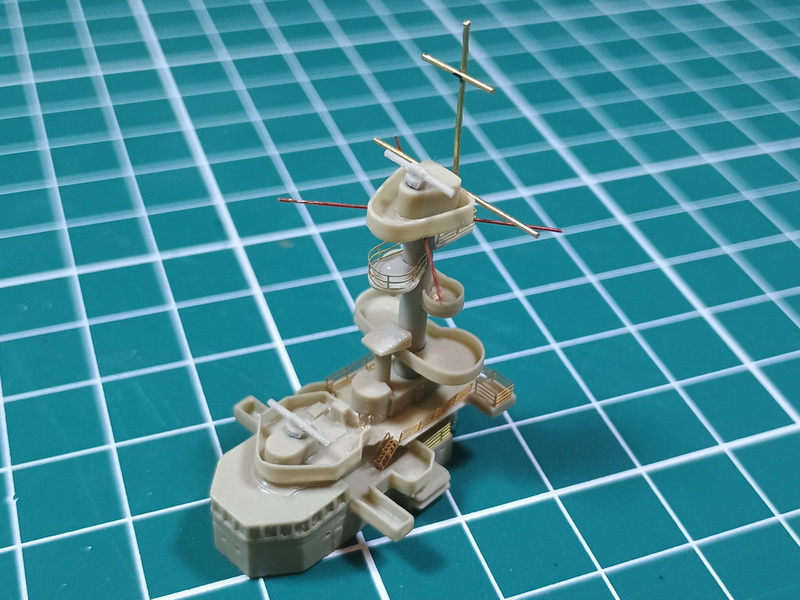
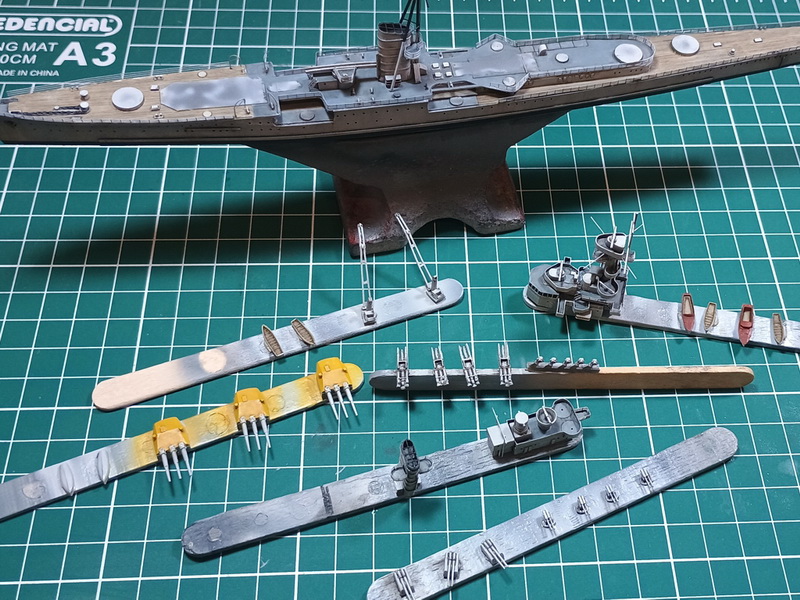
Lo que siguió fue el montaje de los mástiles que se construyeron con las varillas de latón que aporta el mismo kit y siguiendo las instrucciones de posicionamiento y medidas. Y partir de allí el resto del trabajo se simplificó por ser una maqueta con sus componentes muy simplificados en cuanto a la cantidad de piezas y que por ello se acelera y facilita el armado.
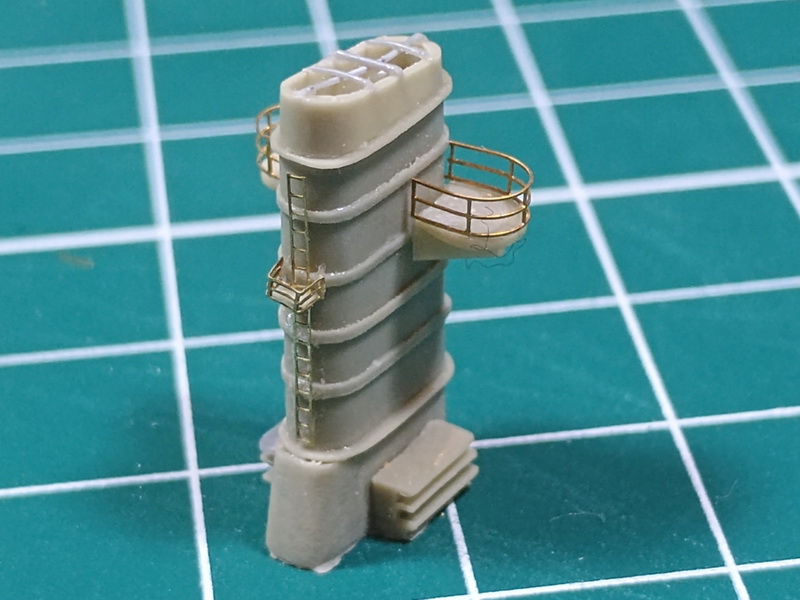
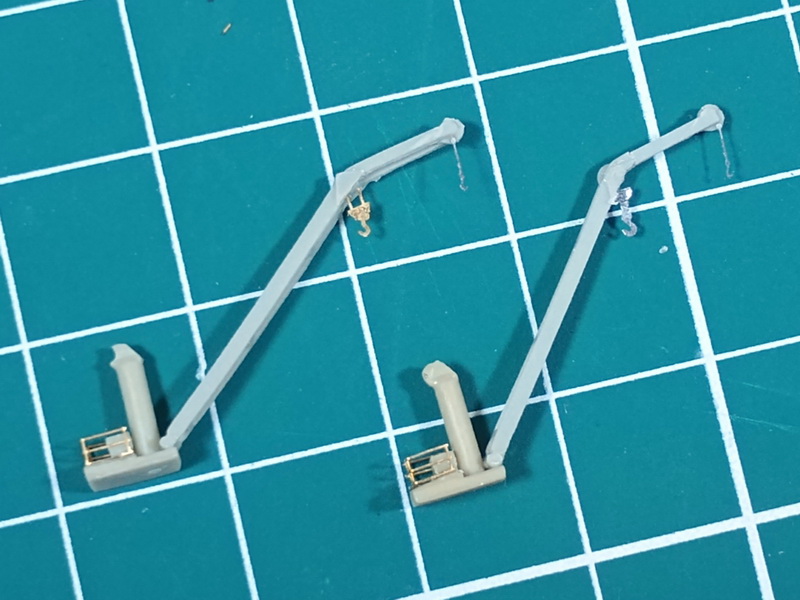
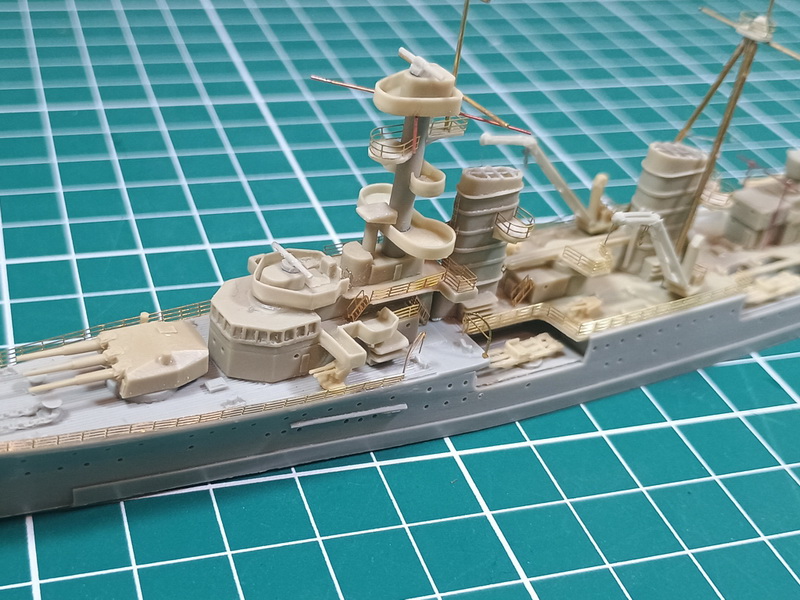
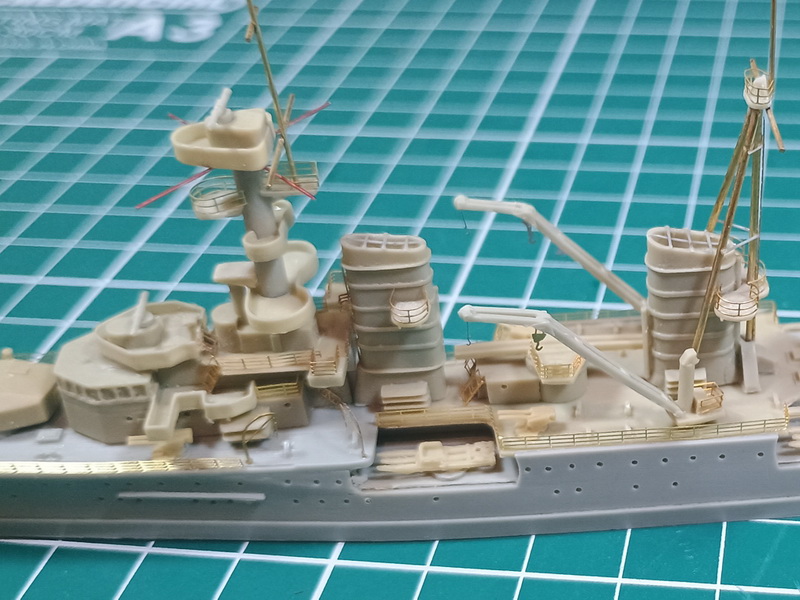
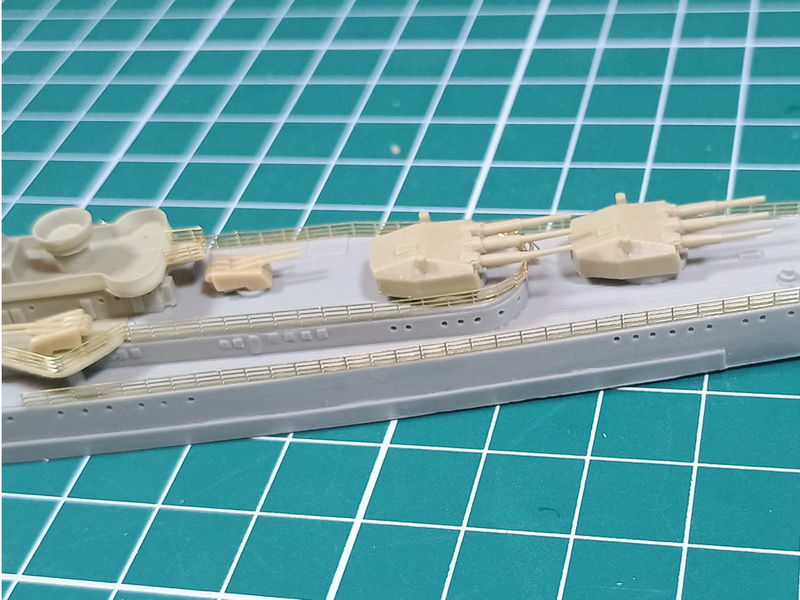
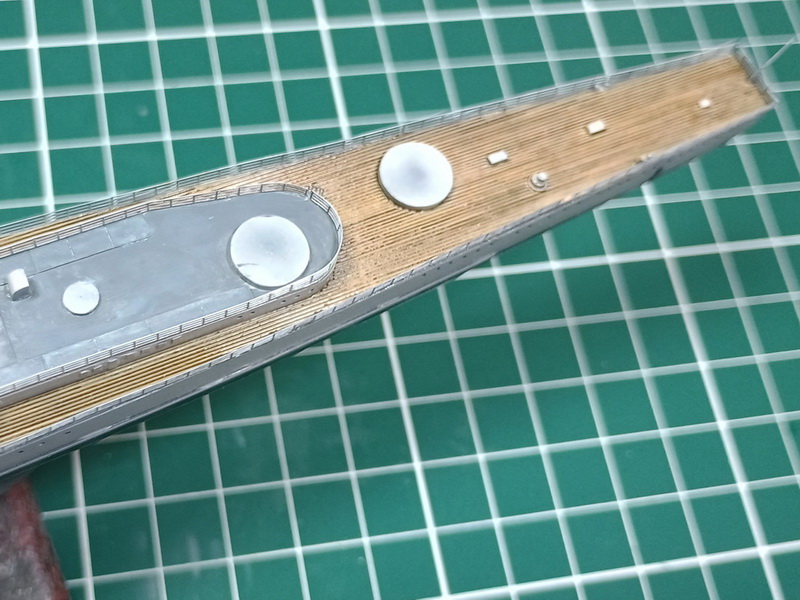
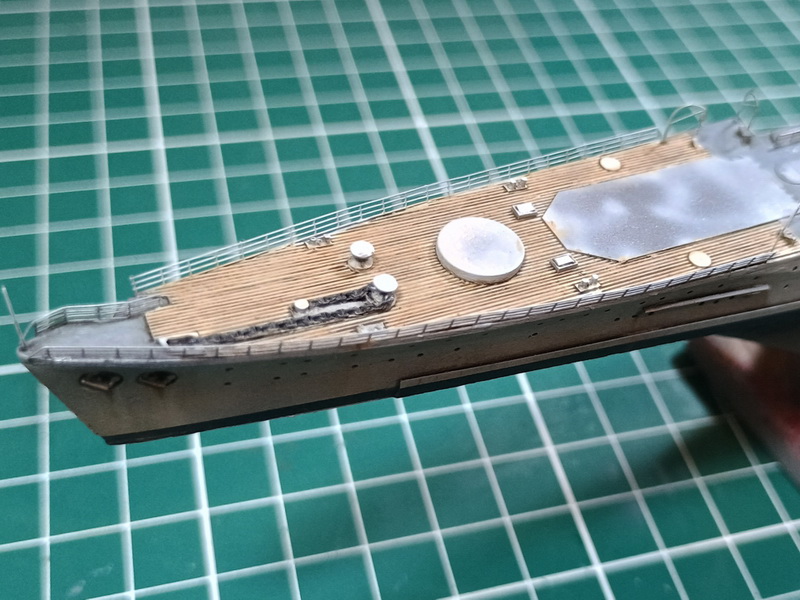
Así el modelo quedó listo para el detallado, realizando el enrejado de los topes de las chimeneas con plástico estirado y luego complementando todo el conjunto con fotograbados, sobre todo barandillas, escaleras y sobrantes de otros sets como, por ejemplo, los pescantes y guinches de las grúas. De esta forma el modelo ya pasa a pintura.
Para ver un paso a paso mucho más detallado los invito a visitar la PLAYLIST dedicada al Karlsruhe en mi canal de Youtube.
The first steps in building the model were to separate the parts from the resin sheet that contained them, specifically the central section of the main deck and the bridge components. Working with resin models requires very different methods from what we are used to with conventional kits. After removing the parts from the resin sheets, it's necessary to clean them up and remove excess material. At this point, we could draw a parallel with injection-molded plastic models, where, when removing parts from the sprue, we must remove leftover plastic, flash, etc.
Fitting the central deck onto the rest of the hull didn't pose any major problems; it was only necessary to fill the joint between both parts with a bit of plastic and then go over it with putty and sandpaper. On the other hand, the entire bridge area required a bit more patience and precision, as it's an area with many structures that had to be properly positioned and aligned, and the lack of alignment pins made assembly a bit more difficult.
What followed was the assembly of the masts, which were built using the brass rods provided by the kit itself, following the positioning and measurement instructions. From there, the rest of the work became simpler because it's a kit with very streamlined components in terms of the number of parts, which speeds up and facilitates the assembly.
Thus, the model was ready for detailing, creating the grating for the funnel tops with stretched sprue and then complementing the whole assembly with photo-etched parts—especially railings, ladders, and leftovers from other sets, such as davits and crane winches. In this way, the model moves onto the painting stage.
To see a much more detailed step-by-step guide, I invite you to visit the PLAYLIST dedicated to the Karlsruhe on my YouTube channel.
Pintura
Painting
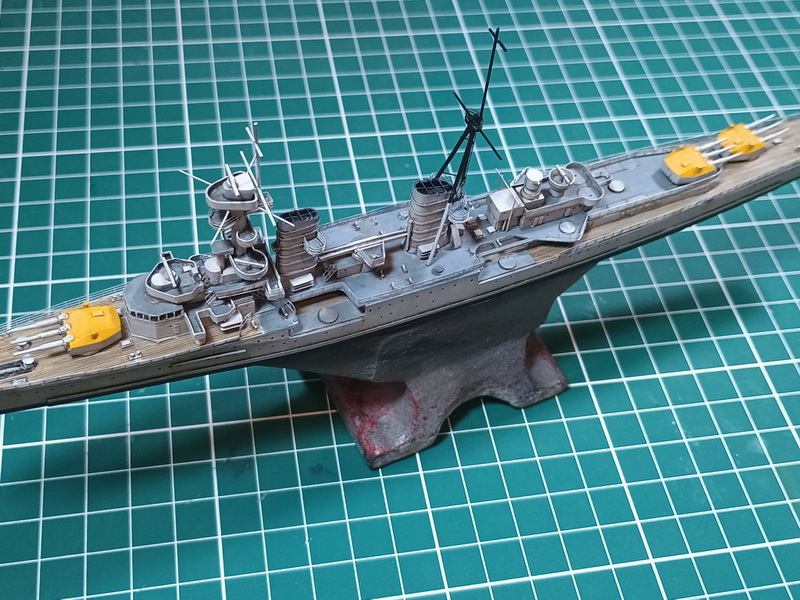
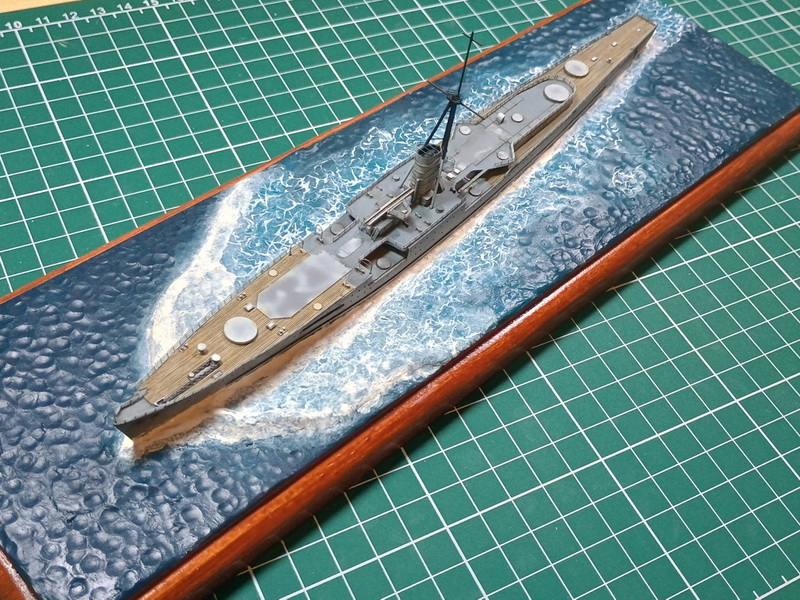
El esquema de pintura que elegí para el modelo es el adecuado para la época en que el kit representa al Karlsruhe, esto al momento de la operación Weserübung en 1940. De esta forma, el casco estará pintado de color gris medio o mittelgrau, mientras que las suprestructuras portarán un gris claro (hellgrau). Para ello útilicé los colores poliuretánicos de Komboloi, los cuales apliqué luego de dar una mano general de primer gris One Shot de Ammo.
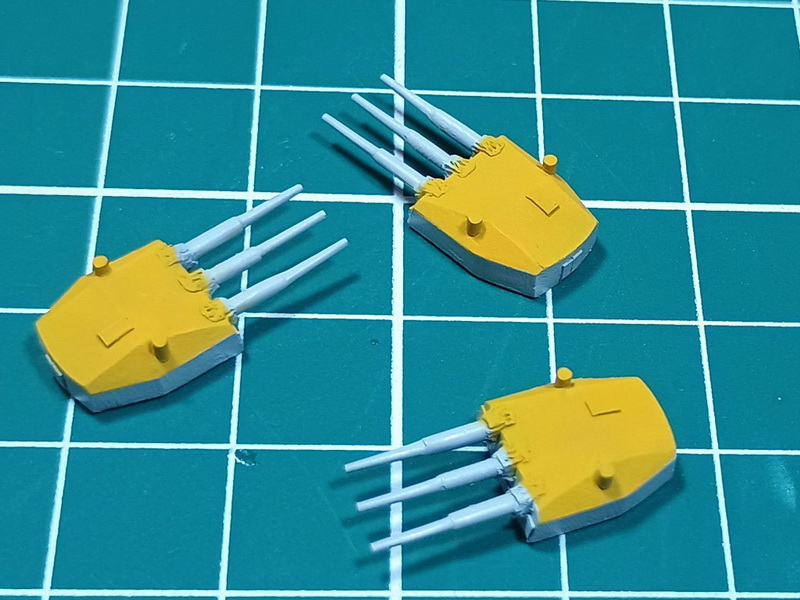
En el caso de las torretas principales, éstas llevaban su parte superior de color amarillo para la identificación aérea y para ello utilicé el Insignia Yellow de Humbrol. Luego, otros detalles como la parte superior del mástil principal, fueron pintados en negro mate de Tamiya.
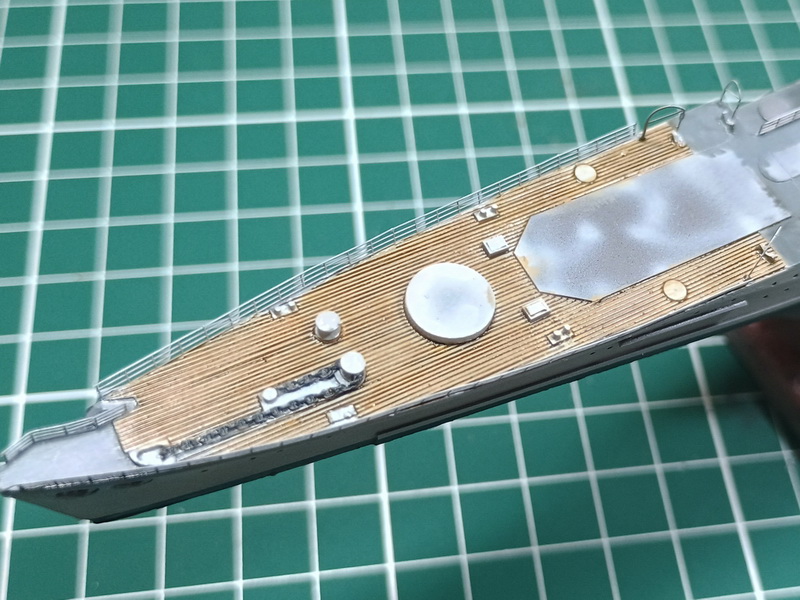
Para simular el color madera de la cubierta simplemente di kaki drab de Humbrol aclarado con blanco y varias tonalidades de oleos para ganar en variedad cromática, aplicando un lavado de siena tostado para simular el calafateado. Finalmente realicé el desgaste e intemperizado con las mismas técnicas con oleos que siempre acostumbro.
The paint scheme I chose for the model is appropriate for the period the kit represents the Karlsruhe, specifically at the time of Operation Weserübung in 1940. Thus, the hull will be painted medium gray or mittelgrau, while the superstructures will feature a light gray (hellgrau). For this, I used polyurethane paints from Komboloi, which I applied after giving a general coat of Ammo One Shot gray primer.
As for the main turrets, their tops were painted yellow for aerial identification, for which I used Humbrol Insignia Yellow. Then, other details, such as the top of the main mast, were painted with Tamiya flat black.
To simulate the wood color of the deck, I simply applied Humbrol khaki drab lightened with white, along with various shades of oils to gain chromatic variety, applying a burnt sienna wash to simulate the caulking. Finally, I carried out the weathering and aging using the same oil techniques that I usually employ.
¡MUY PRONTO MAS AVANCES!
More progress coming soon!