ARA DRUMMOND
KIT 3D - 1:700
Año de construcción / Year of build: 2022
Por fin luego de dos años pude retomar con regularidad la práctica del hobby. Ahora que dispongo nuevamente de un espacio más acorde para construir los modelos, decidí echar mano por primera vez de un kit impreso en 3D, dejando momentáneamente de lado el proyecto del DKM Bismarck que comencé tiempo atrás.
En esta ocasión el buque elegido es la corbeta clase A-69 ARA Drummond, que prestara servicio en la Armada Argentina desde 1978 hasta su reciente baja. Debo decir que quedé gratamente sorprendido por la calidad del modelo en 3D, el cual ha superado mis expectativas. Si bien es necesario reemplazar algunas de las piezas por otras provientes de sobrantes de kits comerciales y mejorarla con accesorios como fotograbados, eso no escapa al común de tareas que deben realizarse con cualquier modelo.
Finally after two years I was able to regularly resume the practice of the hobby. Now that I once again have a more suitable space to build the models, I decided to use a 3D printed kit for the first time, temporarily leaving aside the DKM Bismarck project that I started some time ago.
On this occasion, the ship chosen is the A-69 class corvette ARA Drummond , which served in the Argentine Navy from 1978 until its recent retirement. I must say that I was pleasantly surprised by the quality of the 3D model, which has exceeded my expectations. While some of the parts need to be replaced with kitbashed ones and the model upgraded with photo-etched accesories, those are similar tasks that need to be done with any model.
Construcción
Building
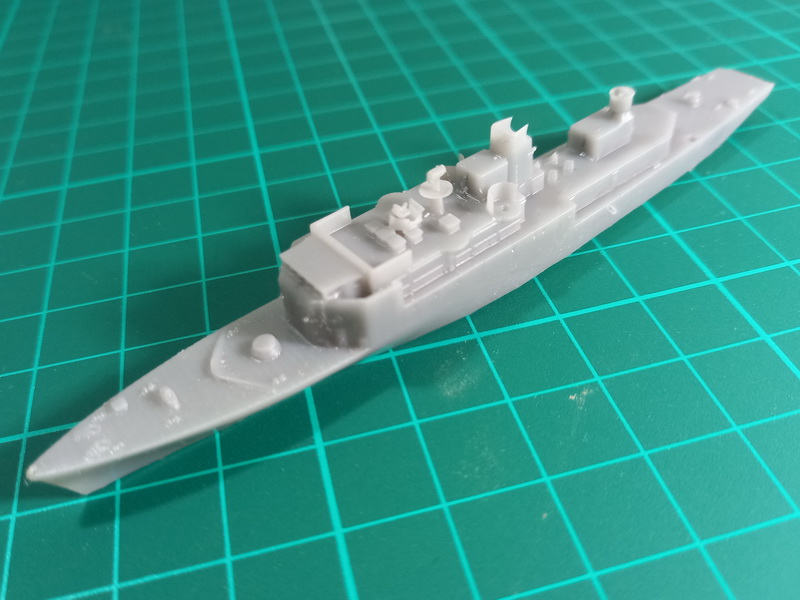
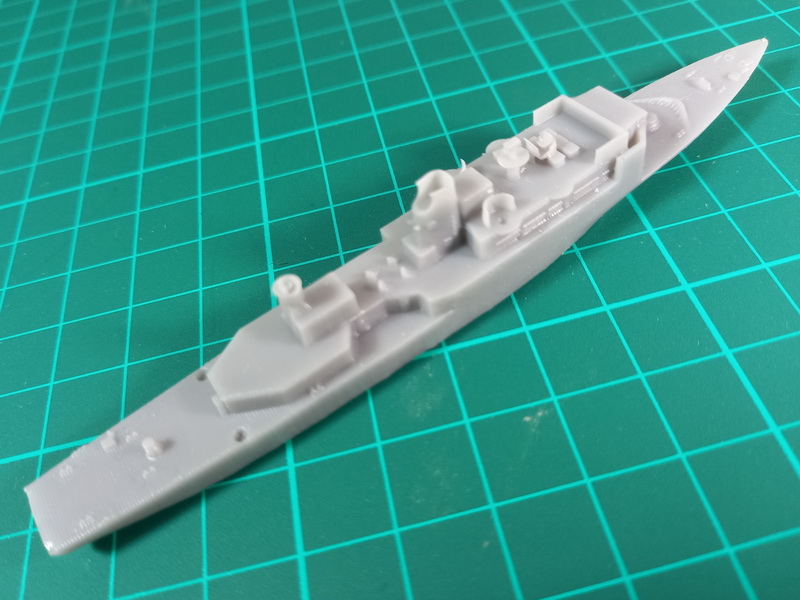
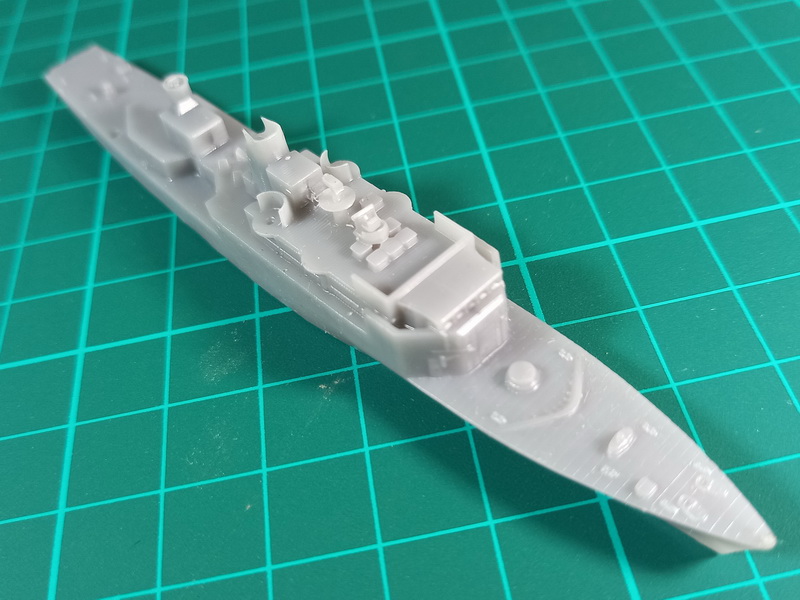
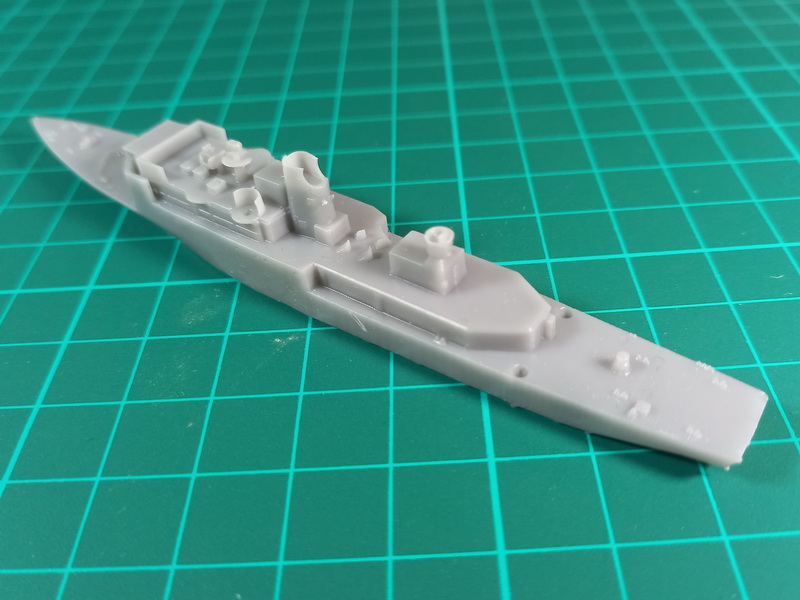
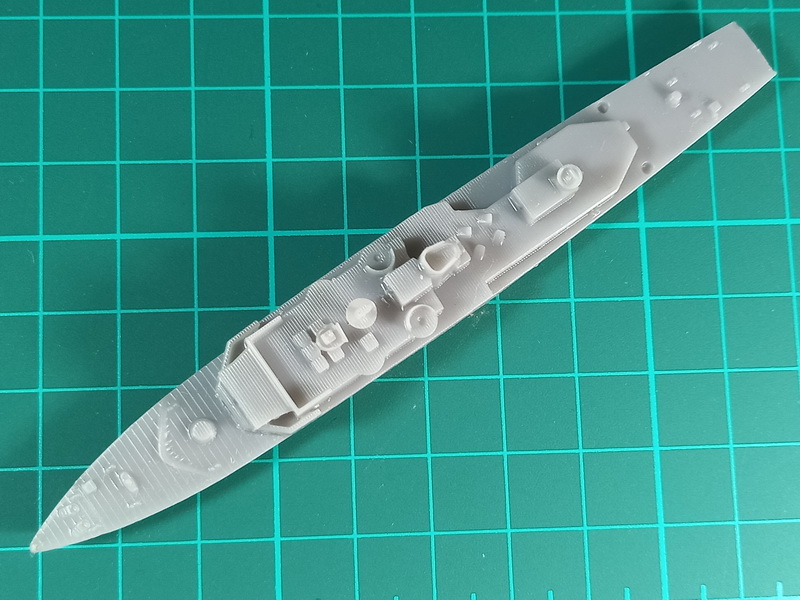
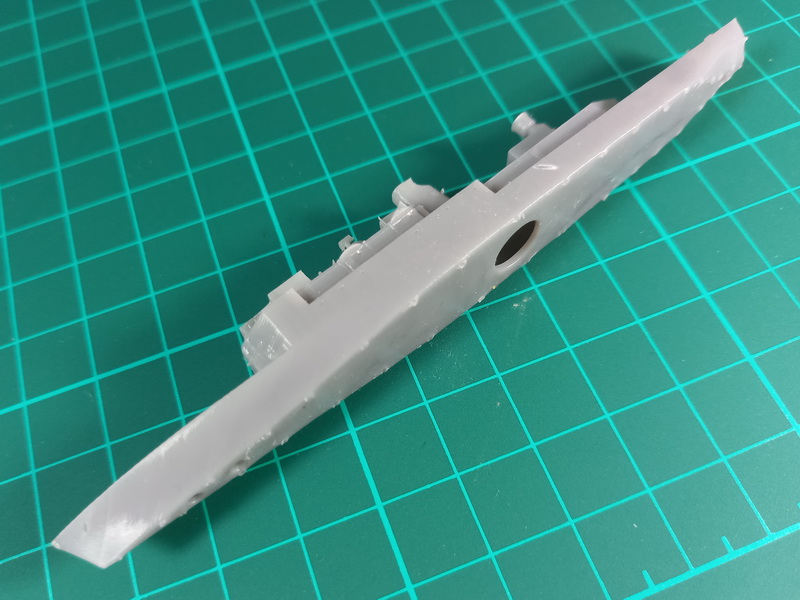
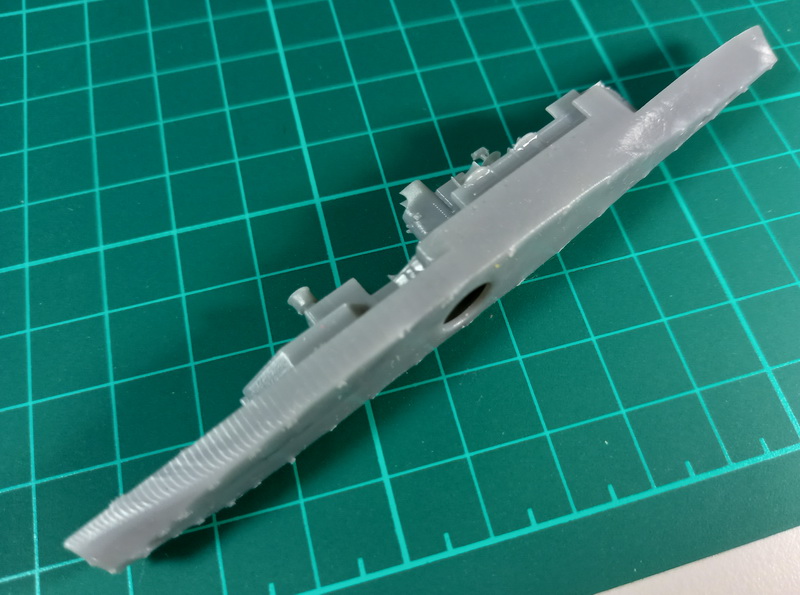
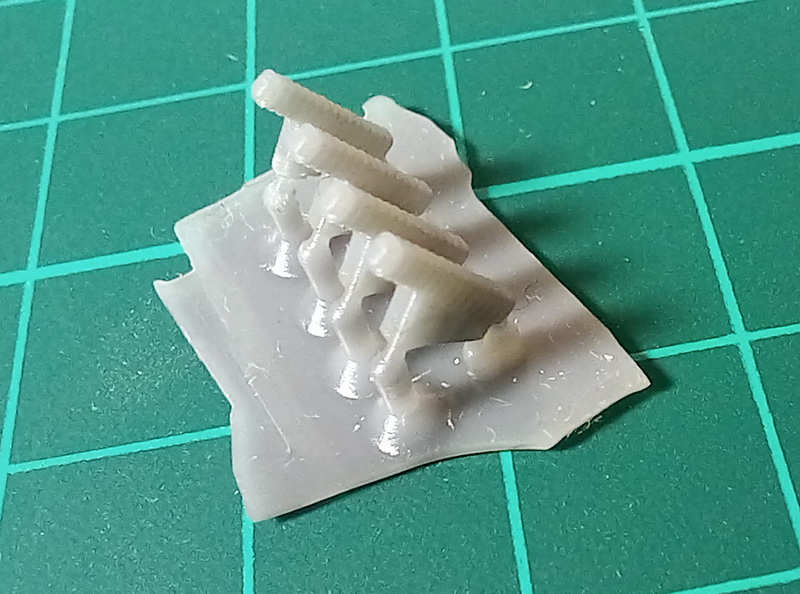
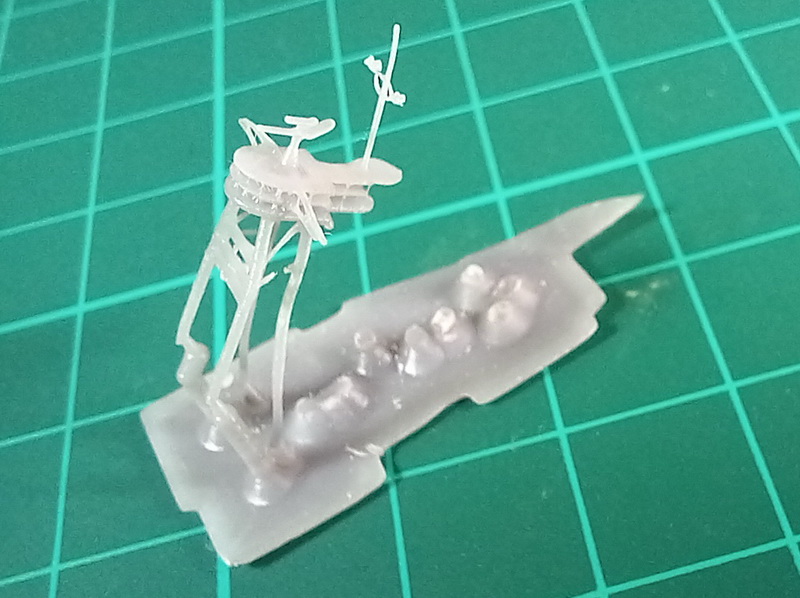
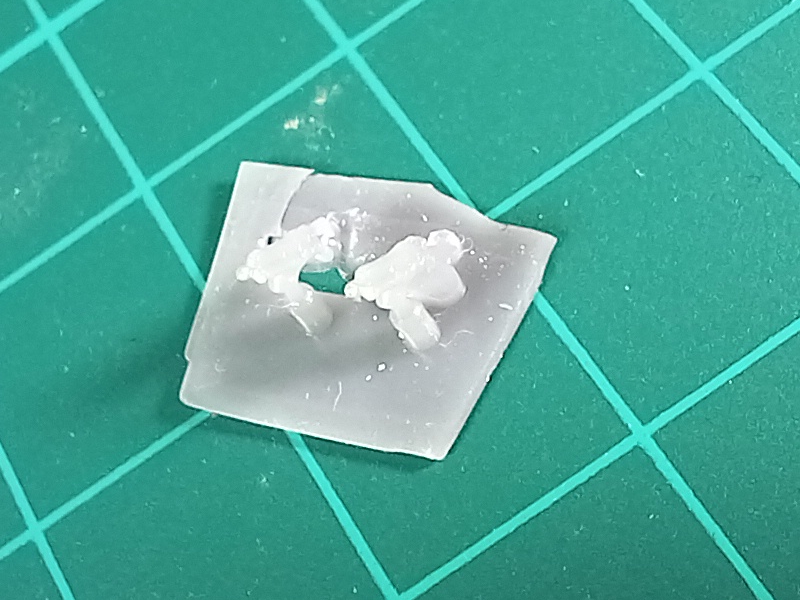
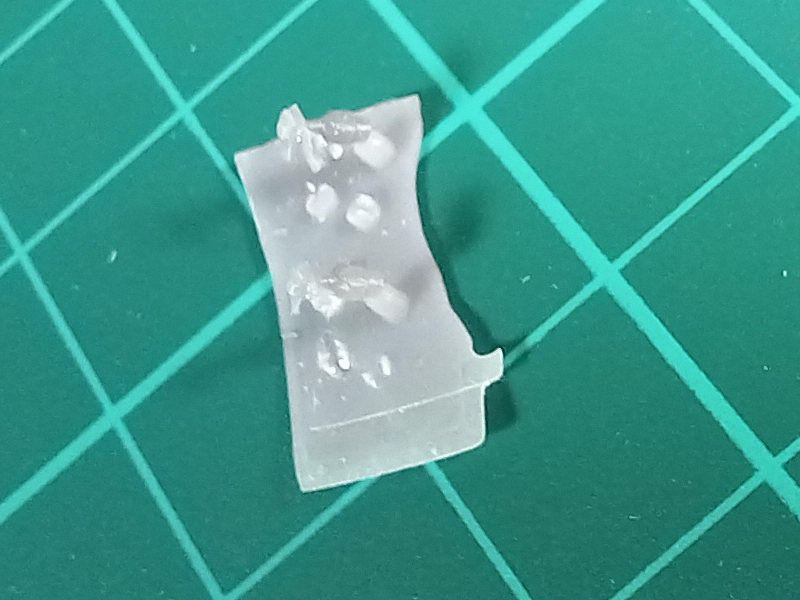
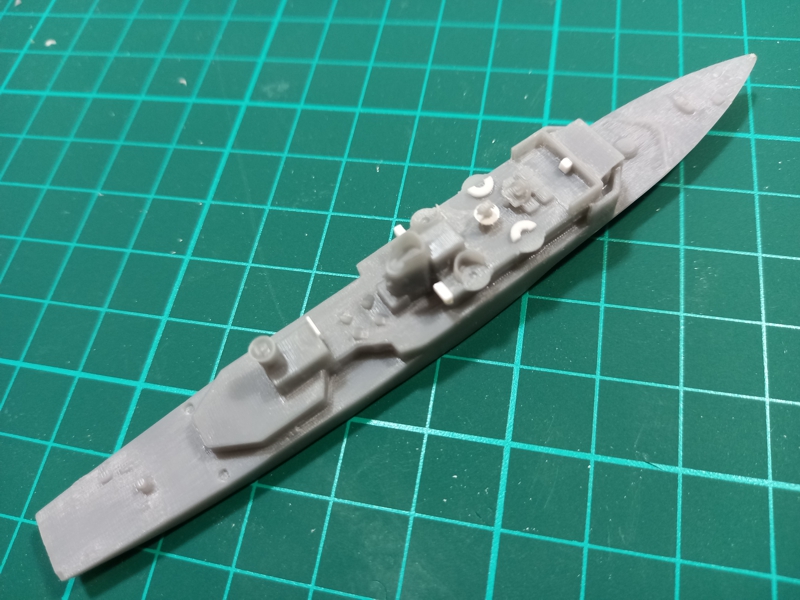
A continuación les dejo algunas fotos del modelo tal como lo recibí, a simple vista se ve que hay que corregir las líneas de impresión, tarea relativamente fácil, eliminando las mismas con un lijado cuidadoso. También se aprecia que los restantes componentes del kit, como son el mástil y armamento secundario deben ser reemplazadas o reconstruídos. En breve estaré actualizando sobre los avances del modelo.
Below are some photos of the model as I received it, at first glance you can see that you have to correct the printing lines, a relatively easy task, removing them with careful sanding. It's also appreciated that the remaining components of the kit, such as the mast and secondary armament, must be replaced or rebuilt. Soon I will be updating on the progress of the model.
Para ver las imágenes en mayor resolución hacer click derecho sobre la misma y seleccionar "Ver imagen / Abrir imagen..."
To see the images in higher resolution, right click on it and select "View image / Open image..."

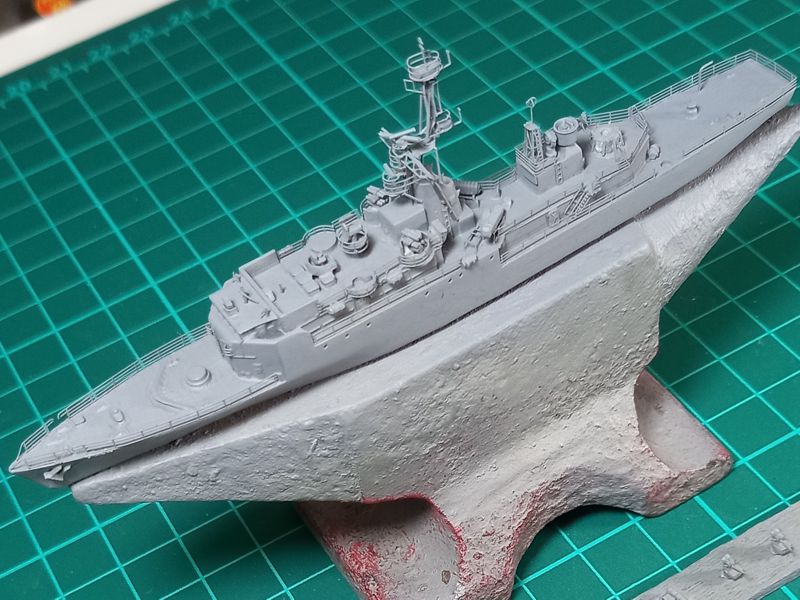
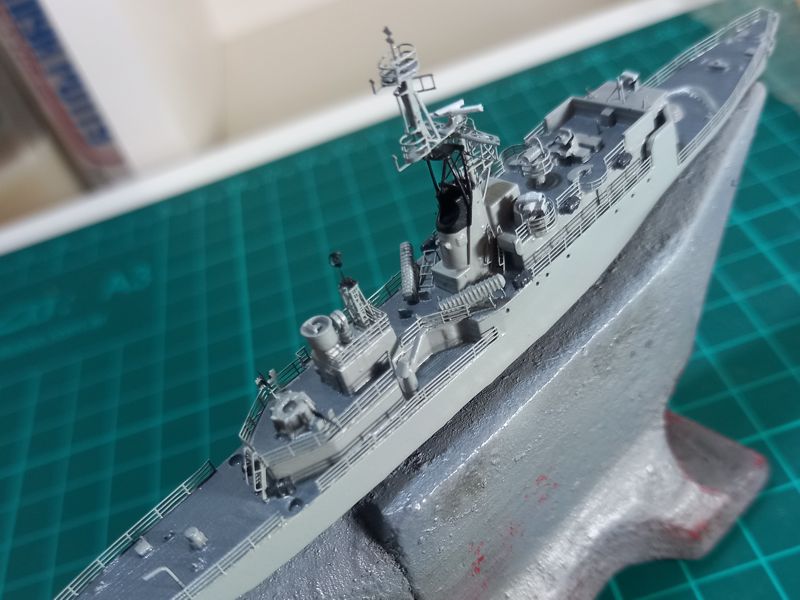
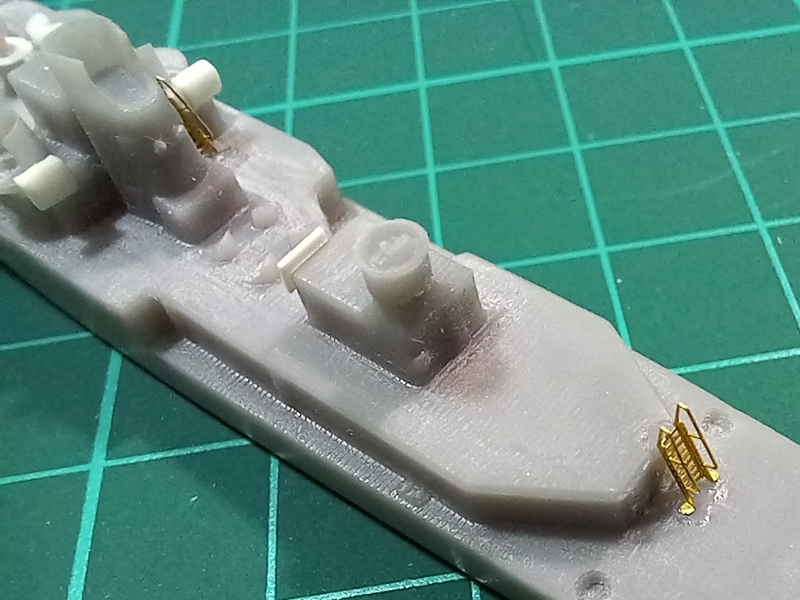
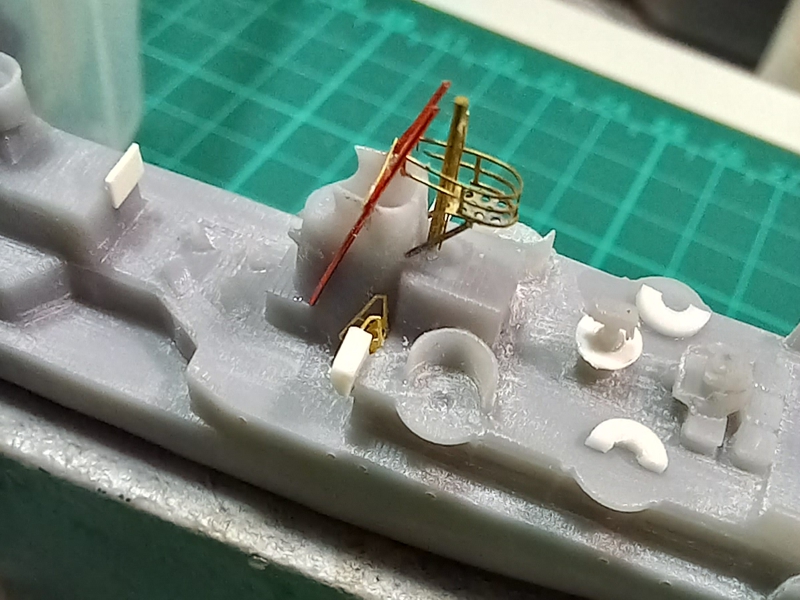
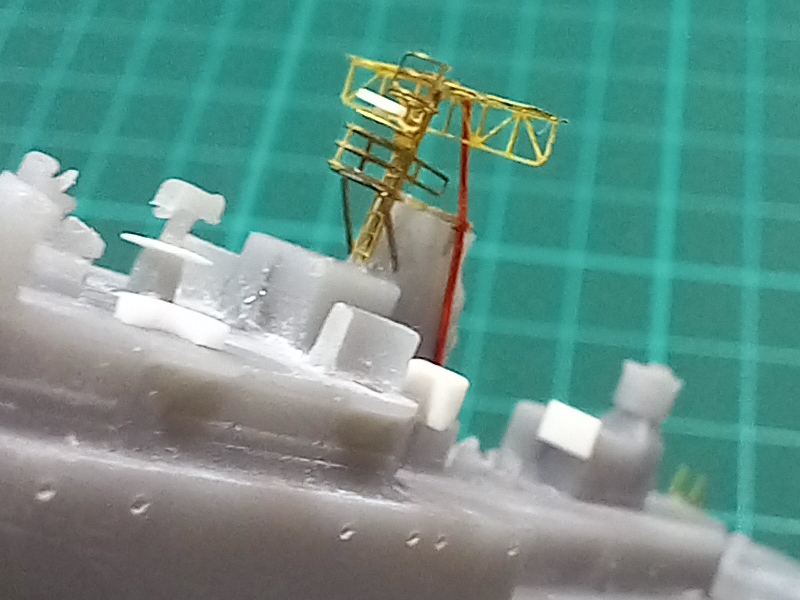
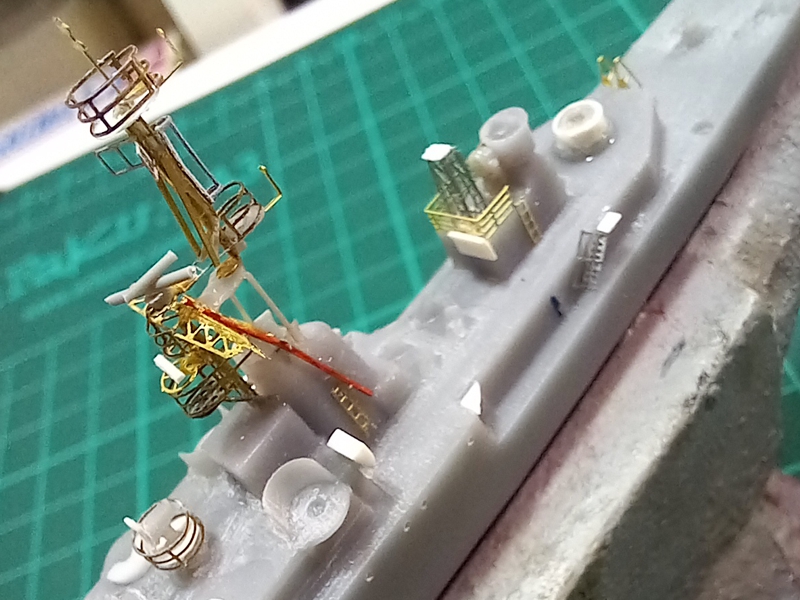
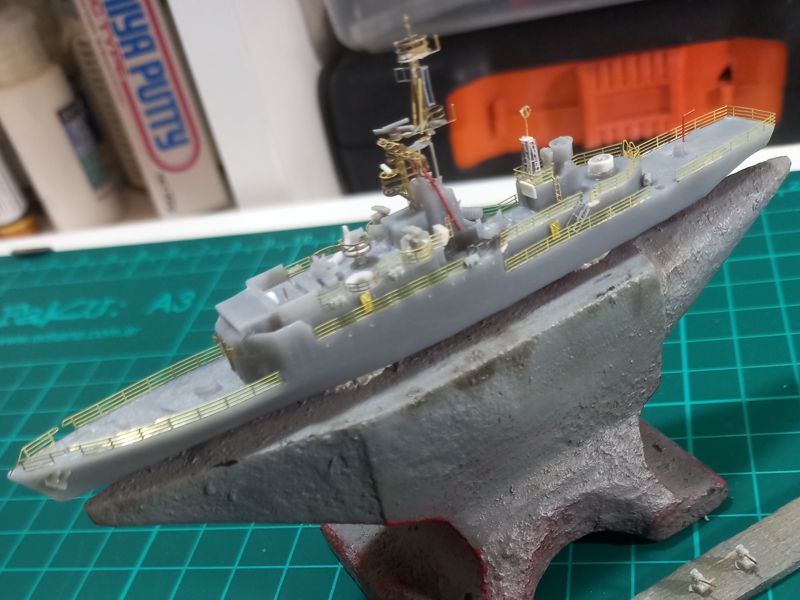
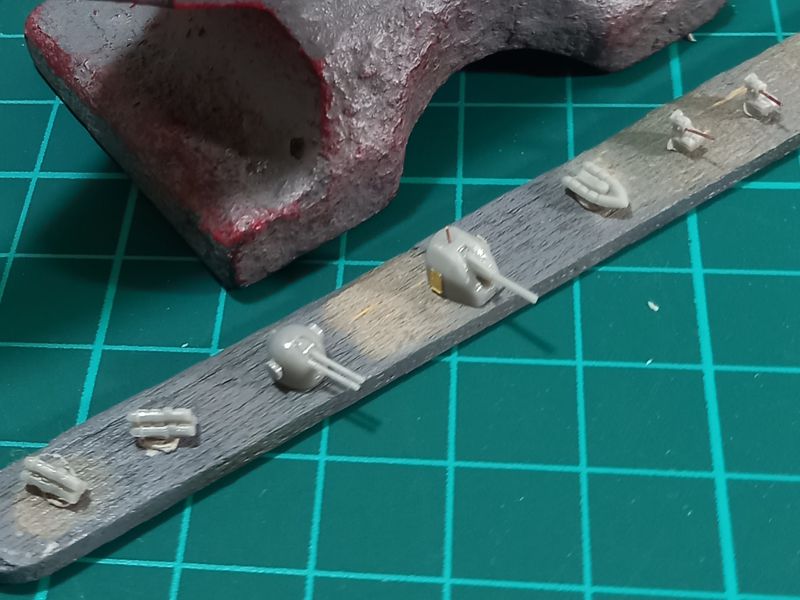
Ahora los avances en la construcción del modelo. Luego de eliminar las líneas de impresión, comencé con el detallado. Primero, agregando algunas piezas en plástico y luego colocando los fotograbados. Desde ya que no existe un set para este modelo, por lo cual utilicé sets genéricos para las barandillas, sobrantes para las escaleras y puertas estancas, y debí modificar o adaptar algunos otros para realizar detalles como el mástil.
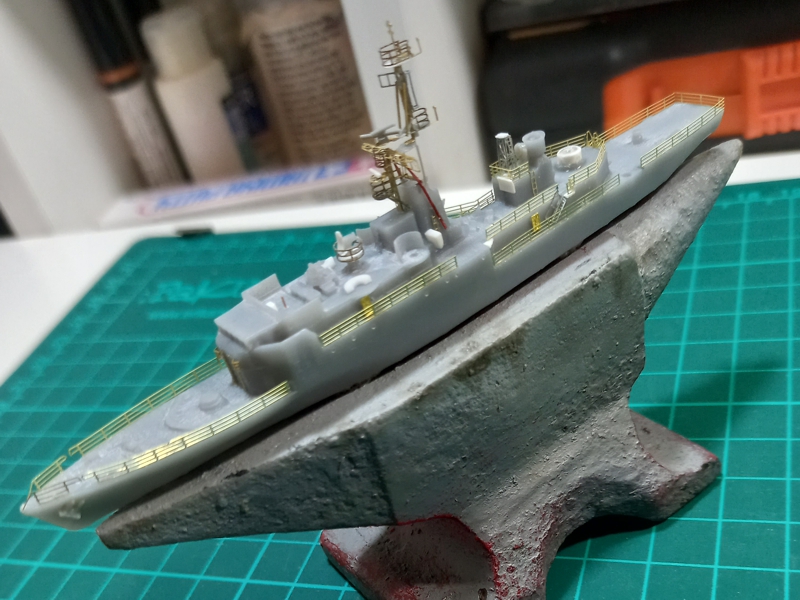
Además, para el armamento, tubos lanzatorpedos, zodiac y otros detalles recurrí a piezas de repuestos del kit del ARA Hércules de Dragon. Concluído eso, el modelo quedó listo para comenzar la pintura.
Now the progress in the model assembly. After removing the print lines, I started with the detailing. First, adding some plastic pieces and then placing the photo-etched parts. Of course, there's no set for this model, so I used generic sets for the railings, leftovers for the ladders and watertight doors, and I had to modify or adapt some others to make details such as the mast.
In addition, for the armament, torpedo tubes, zodiac and other details, I resorted to spare parts from the Dragon's ARA Hercules kit. After that, the model was ready to start painting.
Pintura
Painting
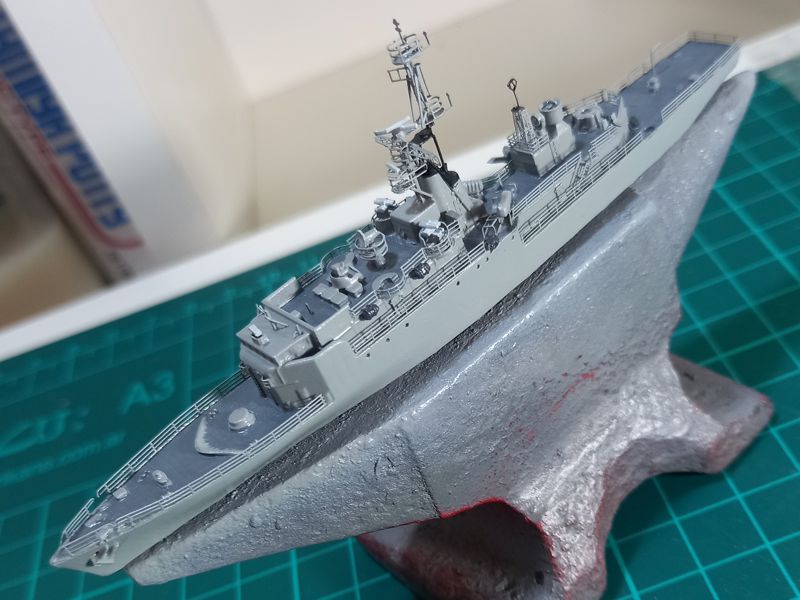
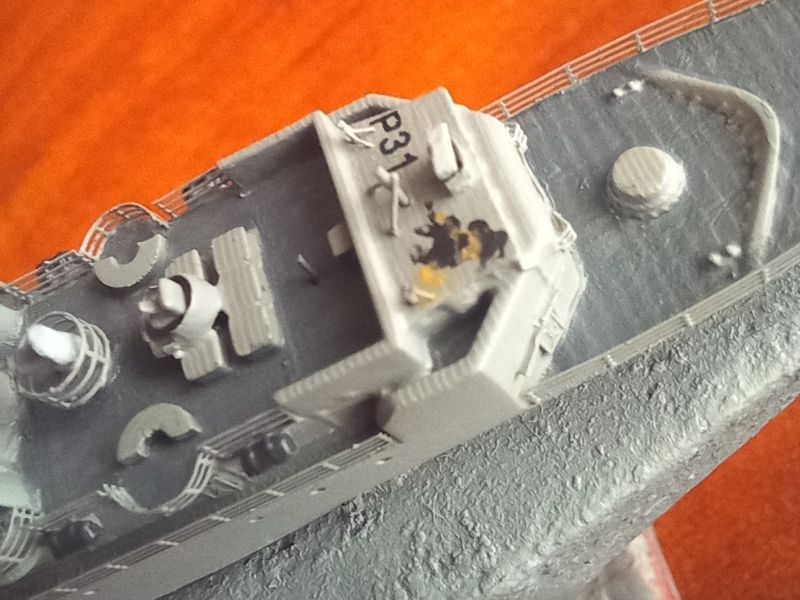
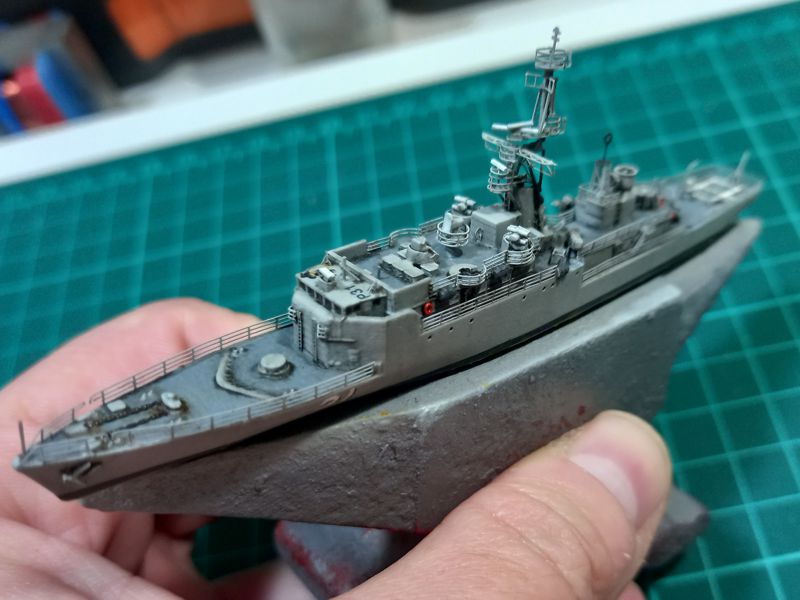
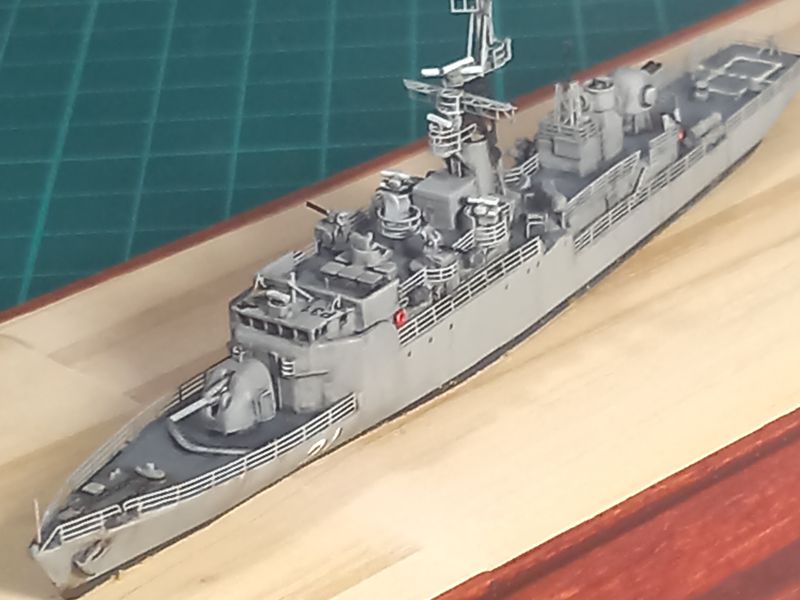
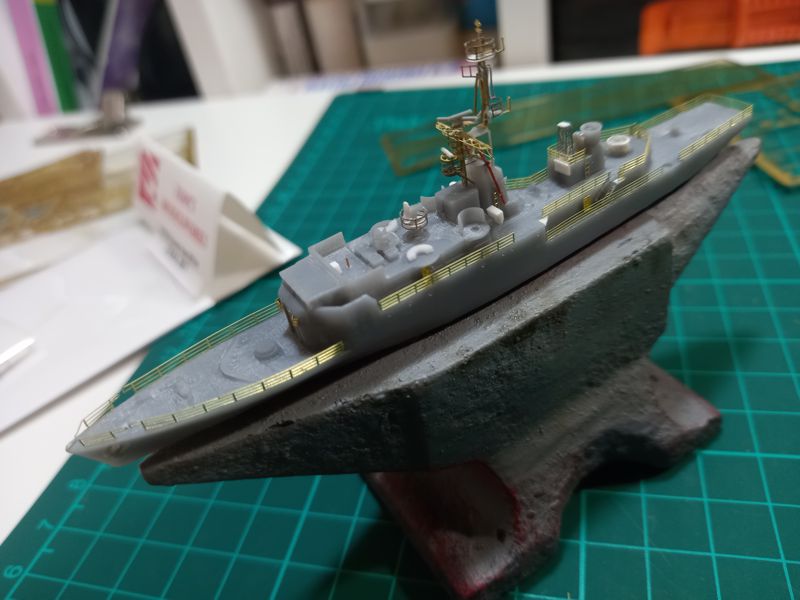
Como de costumbre y para emparejar las superficies, apliqué una mano de imprimación al modelo. En esta oportunidad utilicé el primer gris One Shot de AMMO. Luego, para la pintura general del casco y superestructuras, usé gris medio de Komboloi y para las cubiertas gris oscuro de Sicko. Las calcas fueron en parte sobrantes de kits y los numerales de Hawk Graphics / The Resin Shipyard. ¡Debí pintar a mano la bruja sobre el techo del puente! Los desgastes, como siempre, los hice con óleos. El modelo está casi listo, solo resta colocar el rigging y adherirlo a su base, que aún debo construir.
As usual and to even out the surfaces, I primed the model. This time I used the AMMO One Shot grey primer. Then, for the general painting of the hull and superstructures, I used medium gray from Komboloi and dark gray from Sicko for the decks. The decals were partly left over from kits and the numbers from Hawk Graphics / The Resin Shipyard. I had to hand paint the witch on the roof of the bridge! The weathering, as always, I did it with oils. The model is almost ready, it only remains to place the rigging and adhere it to its base, which I still have to build.