ARA SARANDI
KIT 3D - 1:700
Año de construcción / Year of build: 2022
Nuevamente he elegido otro modelo impreso en 3D para seguir practicando y mejorando la técnica con este tipo de kits. Esta vez, se trata de uno de los destructores clase Meko 360 de la Armada Argentina, el ARA Sarandí, en servicio desde 1984.
De la misma forma en que me sorprendió gratamente el kit 3D del ARA Drummond, otra vez debo decir que la calidad del modelo es muy buena, incluso superior al anterior. Con unas pocas mejoras y detallados espero poder obtener un buen resultado.
Once again I have chosen another 3D printed model to continue practicing and improving the technique with this type of kit. This time, it's one of the Meko 360 class destroyers of the Argentine Navy, the ARA Sarandí, in service since 1984.
In the same way that I was pleasantly surprised by the 3D kit of the ARA Drummond, again I must say that the quality of the model is very good, even superior to the previous one. With a few improvements and details I hope I can get a good result.
Construcción
Building
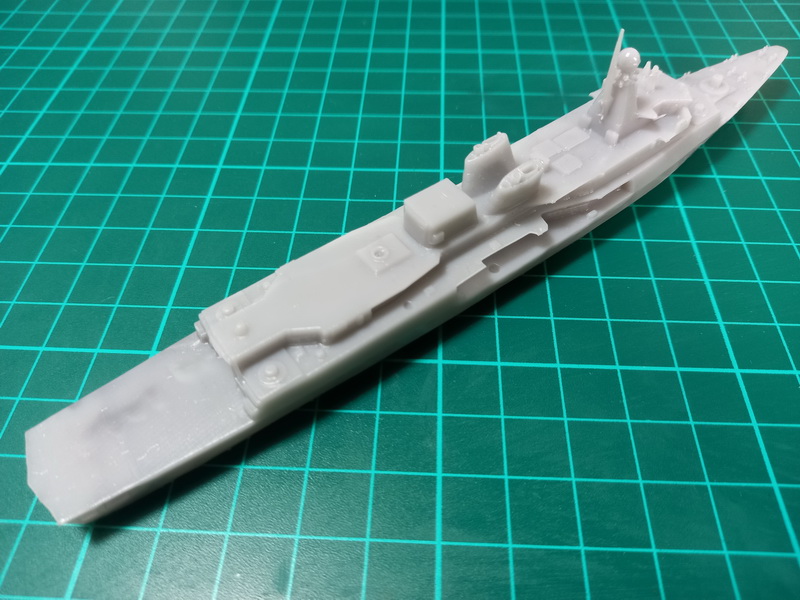
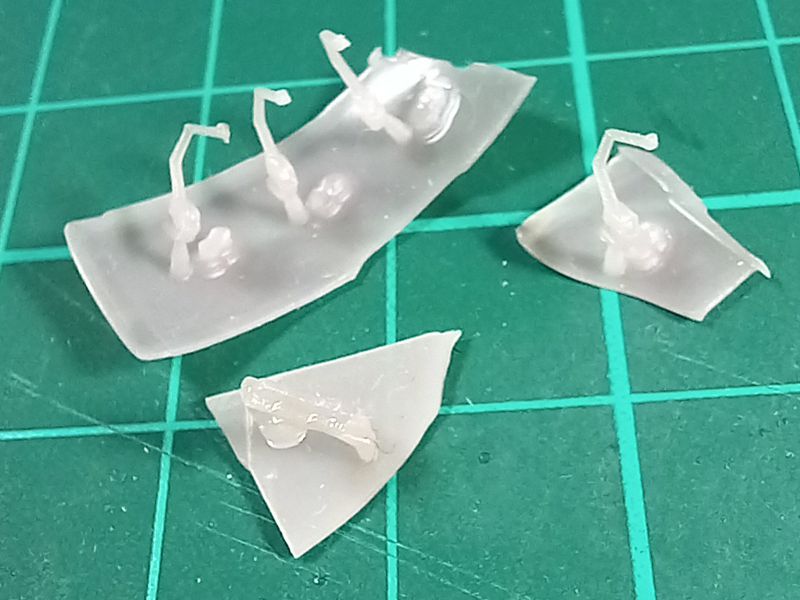
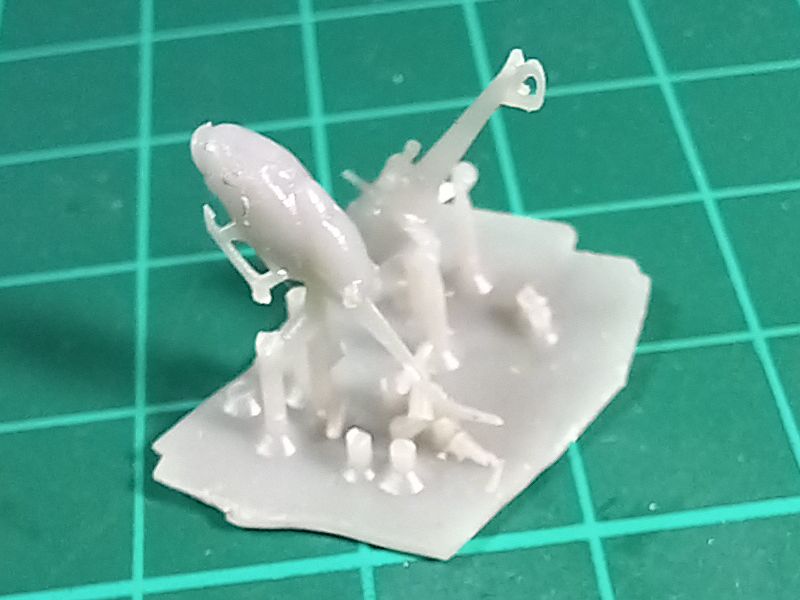
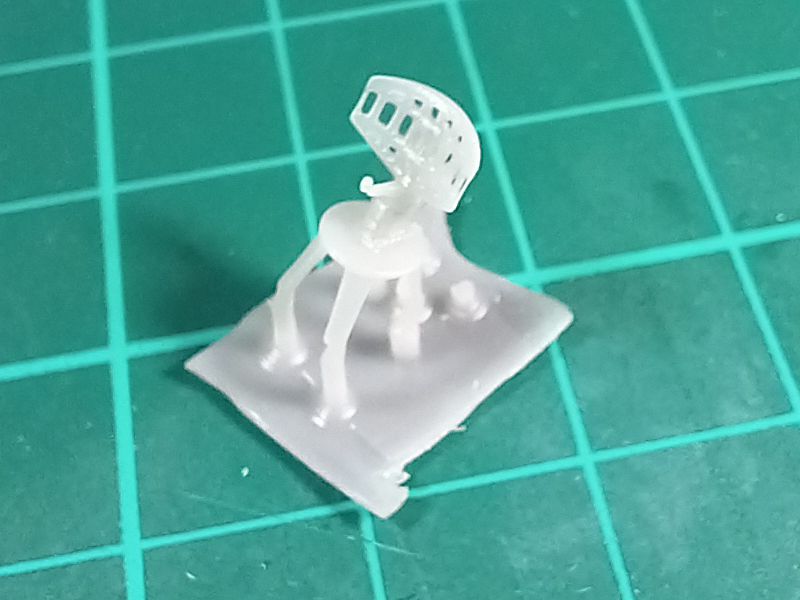
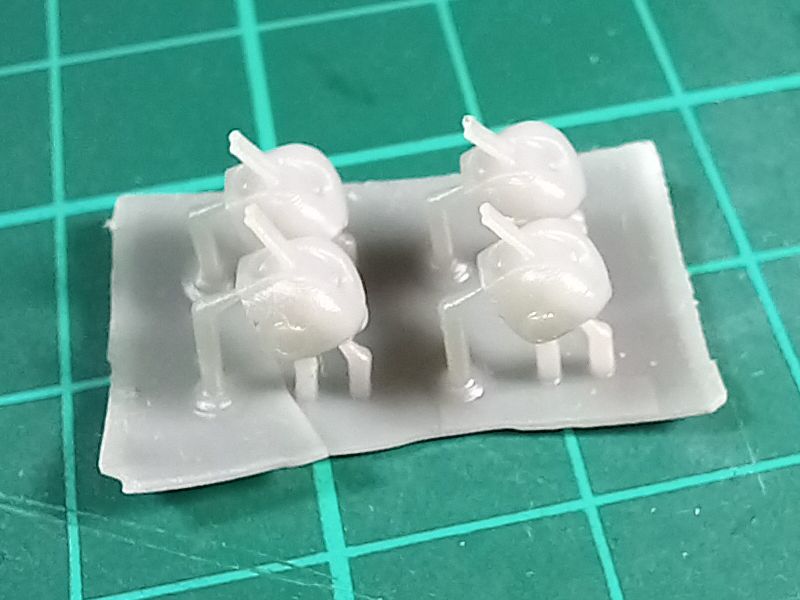
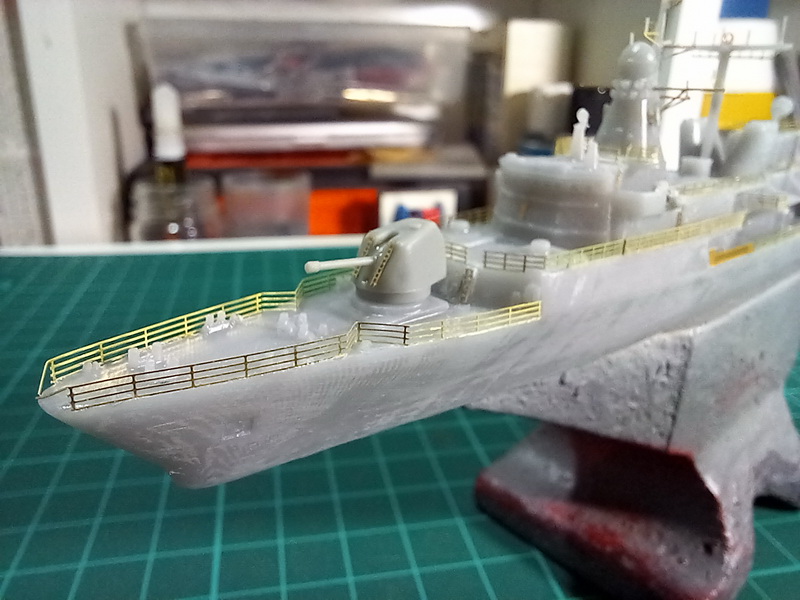
Como siempre, primero les acompaño algunas imágenes del kit previo a comenzar su construcción. Puede apreciarse que la calidad del mismo es sobresaliente y que incluso las piezas más pequeñas poseen un buen nivel de detalles, en algunos casos mejor que cualquier kit convencional.
As always, first I show you some images of the kit before starting its construction. It can be seen that its quality is outstanding and that even the smallest pieces have a good level of detail, in some cases better than any conventional kit.
Para ver las imágenes en mayor resolución hacer click derecho sobre la misma y seleccionar "Ver imagen / Abrir imagen..."
To see the images in higher resolution, right click on it and select "View image / Open image..."
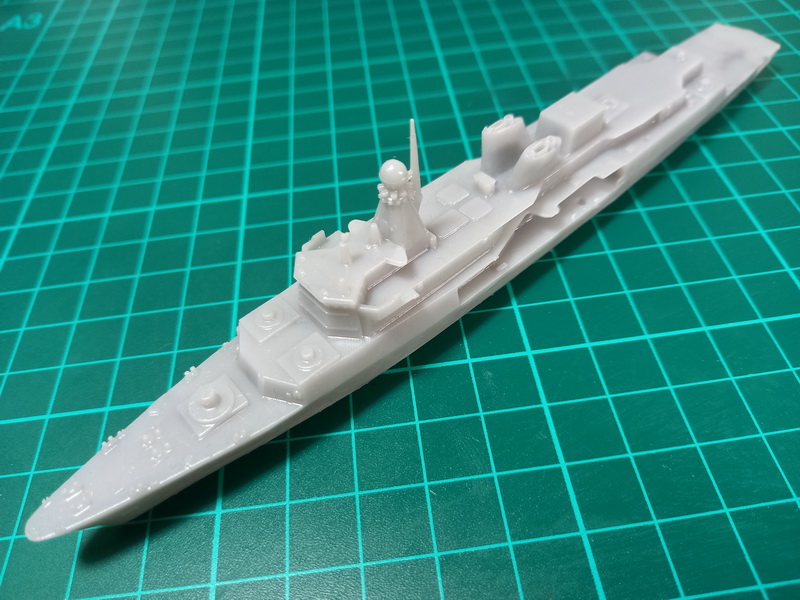
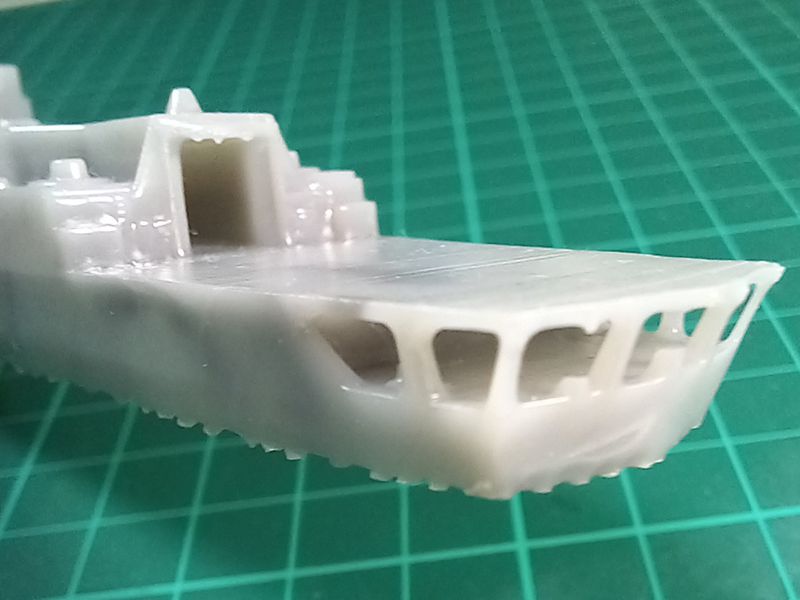
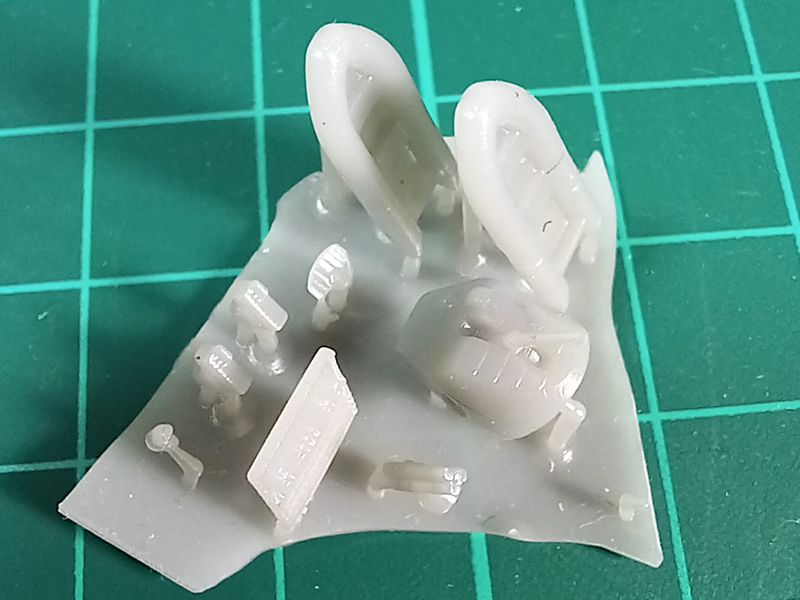
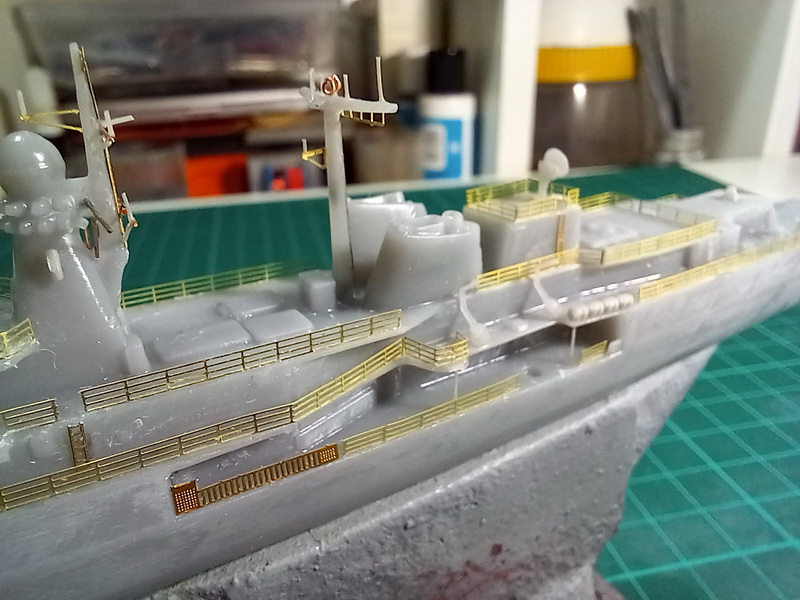
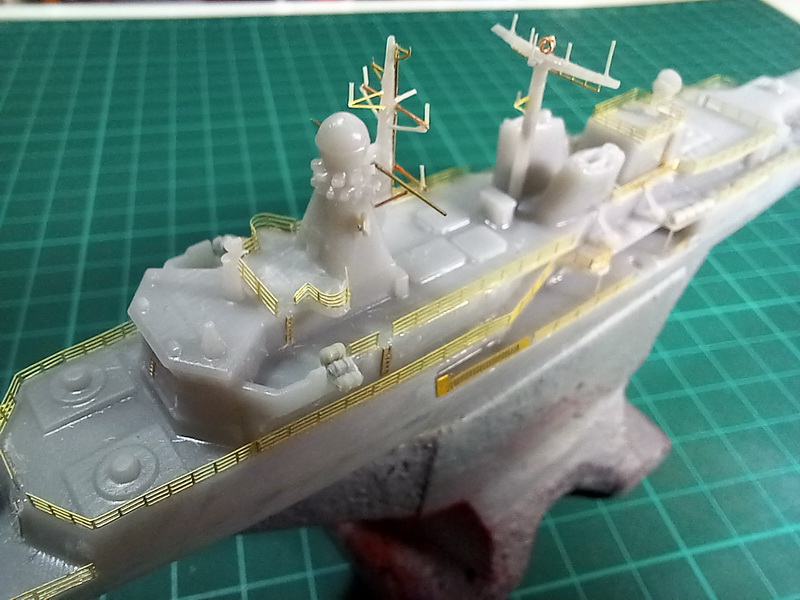
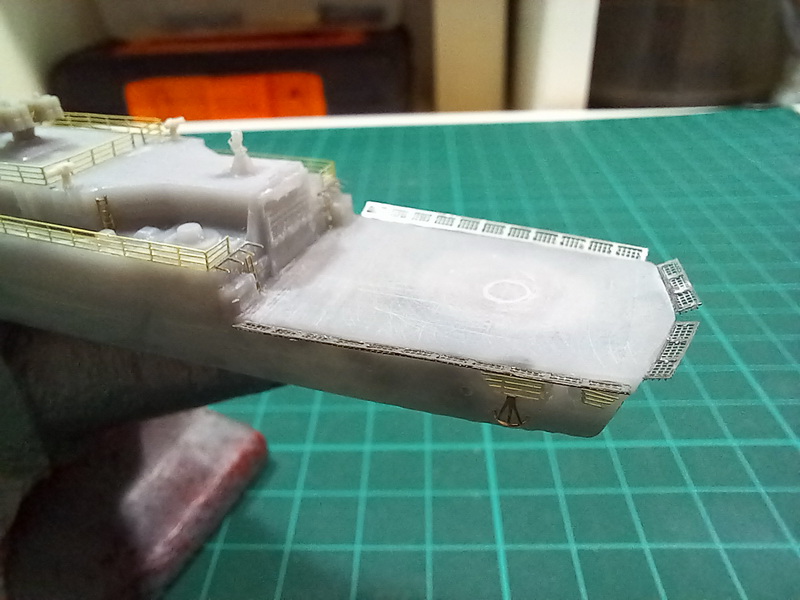
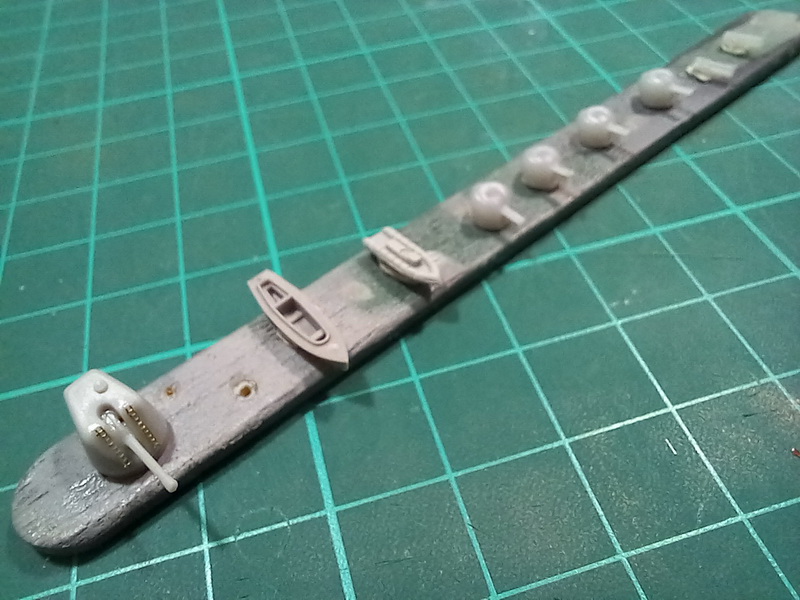
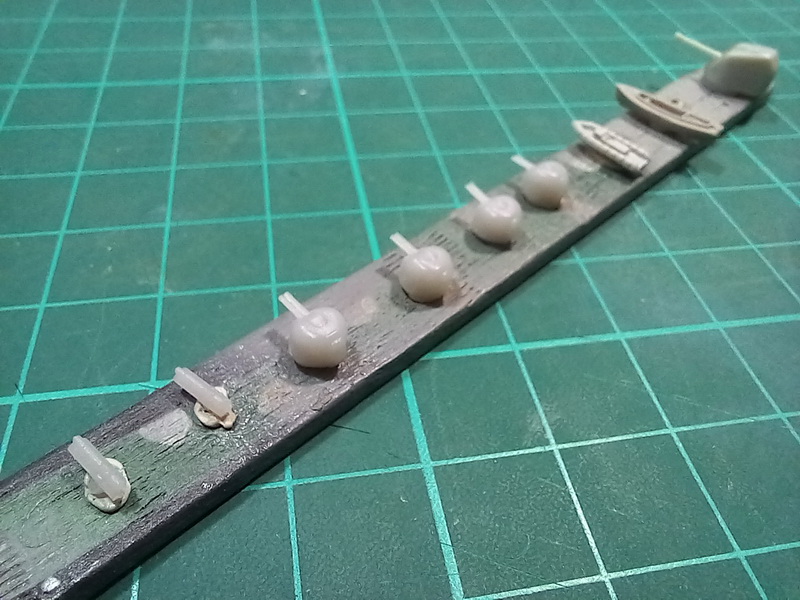
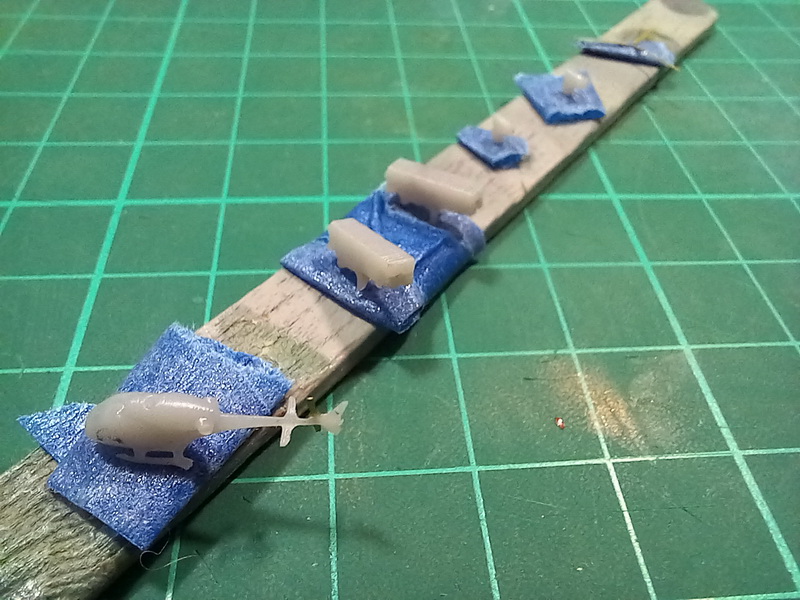
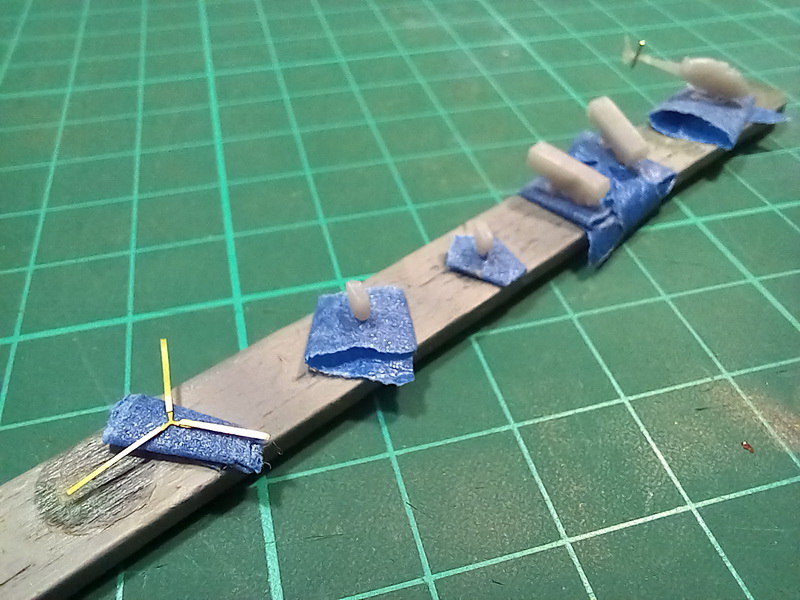
A continuación las imágenes del ensamblado del modelo. En este caso no fue necesario un ensamblaje propiamente dicho, ya que las partes principales del buque (casco y superestructuras) constituyen una sola pieza. Eso otorga una gran ventaja en cuanto al tiempo de construcción. Sólo debí colocar el mástil entre ambas chimeneas y el portón del hangar. Otras piezas menores, como los contenedores de los misiles, pescantes de los botes y armamento son piezas presentadas por separado.
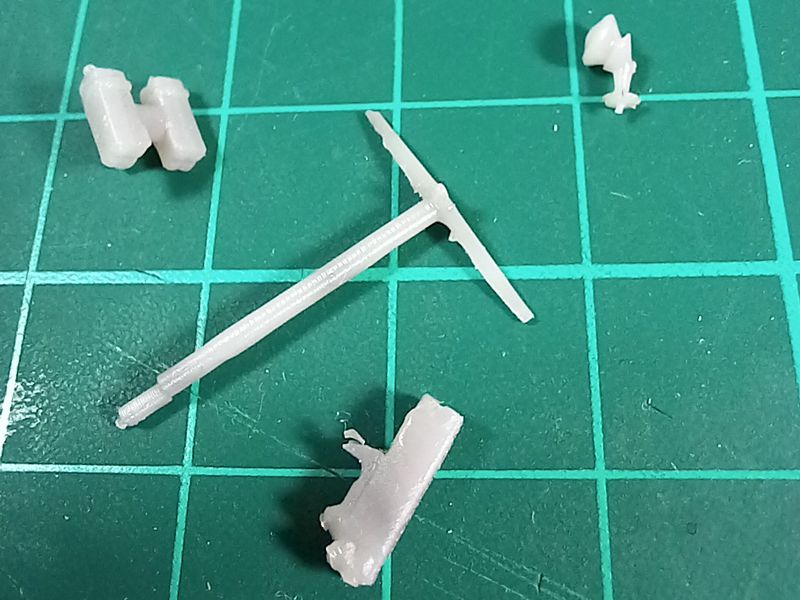
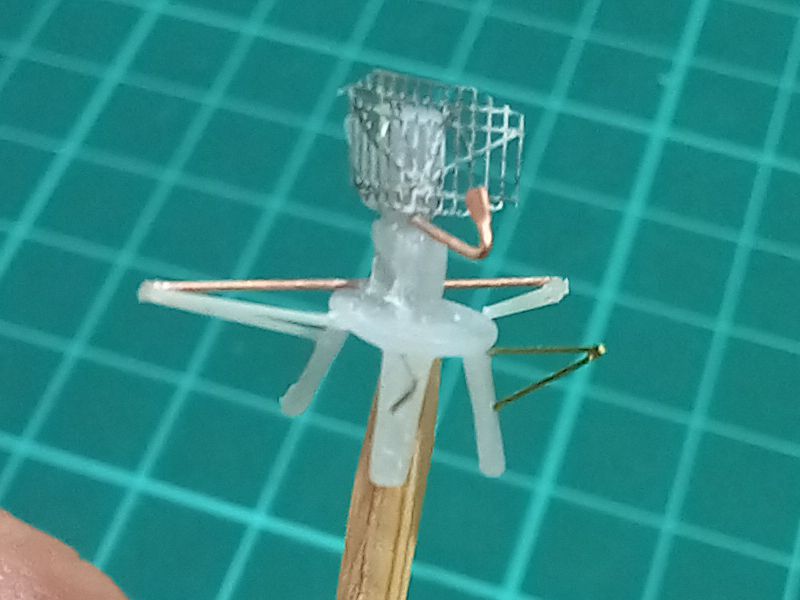
Al igual que hice con el modelo del ARA Drummond, algunos componentes los reemplacé por piezas de repuestos de otros kits, como el cañón principal perteneciente al árbol de armamentos del ARA Hércules de Dragon. Además, la antena de radar fue construída en scratch en reemplazo de la proporcionada por el set 3D. En cuanto al detallado, como siempre recurrí a fotograbados genéricos para las barandillas y otros elementos menores, y el detallado de ambos mástiles fue realizado en scratch. En conclusión, el modelo no demanadó mucho trabajo de construcción, y terminado ello ya se encuentra listo para recibir la pintura.
Below are the images of the model assembly. In this case, an assembly itself was not necessary, since the main parts of the ship (hull and superstructures) constitute a single piece. That gives you a huge advantage in terms of build time. I only had to place the mast between both funnels and the hangar door. Other minor pieces, such as missile containers, boat davits and weapons, are pieces presented separately.
As I did with the ARA Drummond model, some components were replaced with spare parts from other kits, such as the main gun belonging to the Dragon's ARA Hércules weapons sprue. Also, the radar antenna was scratch built to replace the one provided by the 3D set. As for the details, as always I used generic photo-etched parts for the railings and other minor elements, and the detailing of both masts was done in scratch. In conclusion, the model didn't require much assembly work, and once it's finished, it's ready to receive the painting.
Pintura
Painting
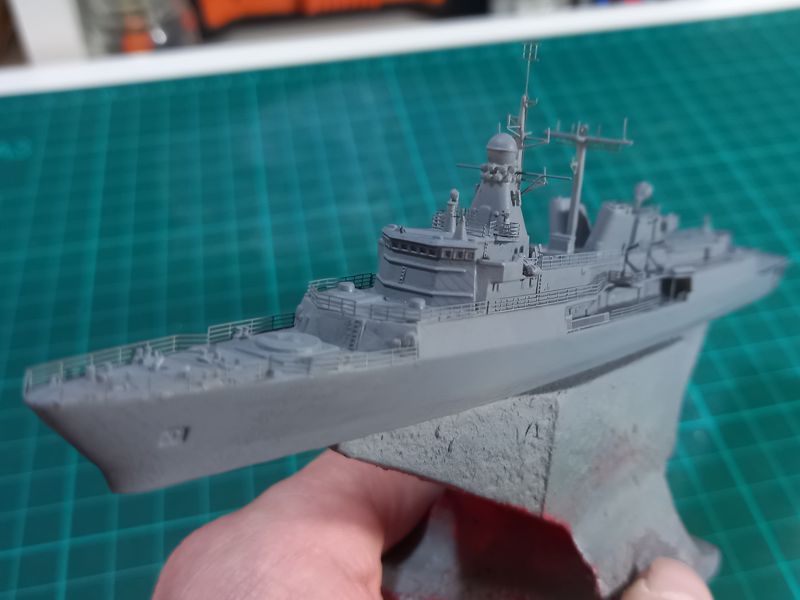
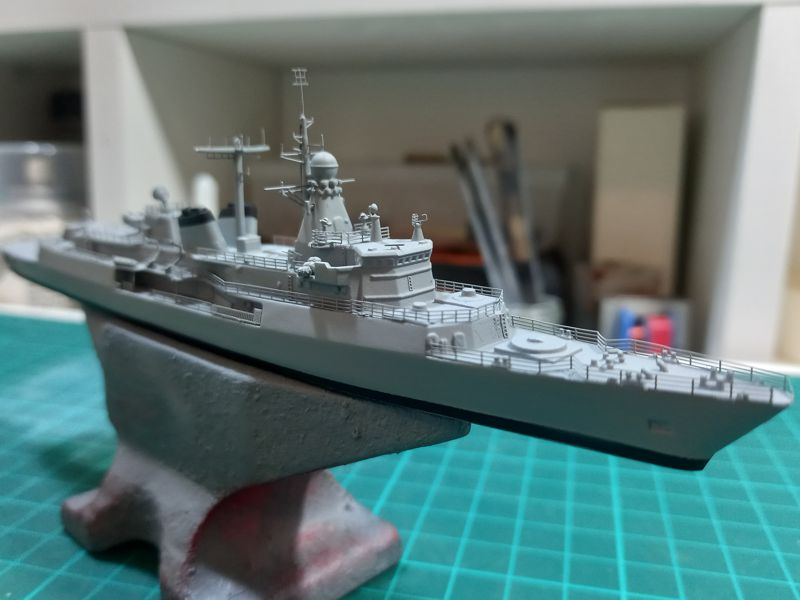
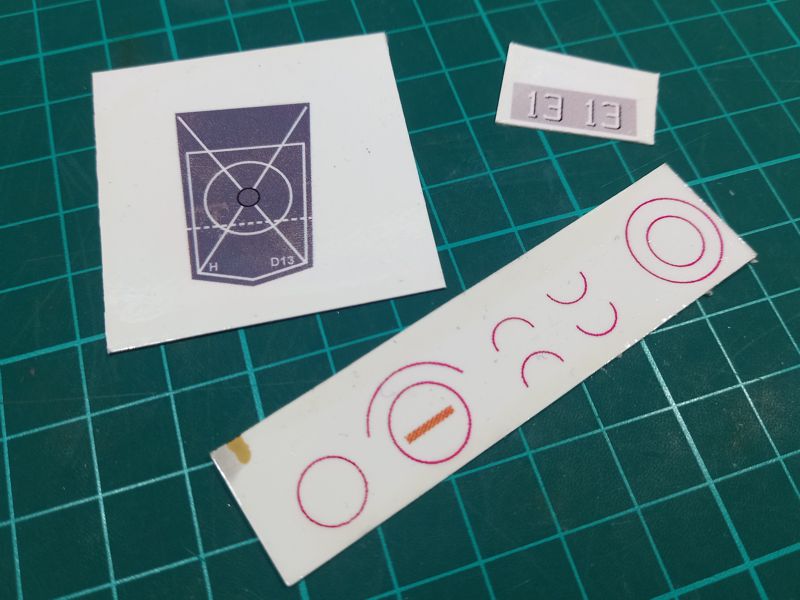
Como siempre, previo a dar la pintura, aplico una mano de imprimante. Com ode costumbre, eché mano al primer One Shot de AMMO. Realizado ello, utilicé gris medio de Komboloi para la pintura general de todo el modelo. Esta vez, las calcas debí realizarlas en forma casera, diseñando e imprimiendo las mismas por no contar con alguna de características que se adecuen a este modelo. Y los desgastes, una vez más, los hice con óleos.
As always, before painting, I apply a coat of primer. As usual, I used One Shot from AMMO. Once this was done, I used medium gray from Komboloi for the general painting of the entire model. This time, I had to make the decals at home, designing and printing them because I didn't have any set of features that fit this model. And I did with oils the weathering, once again.