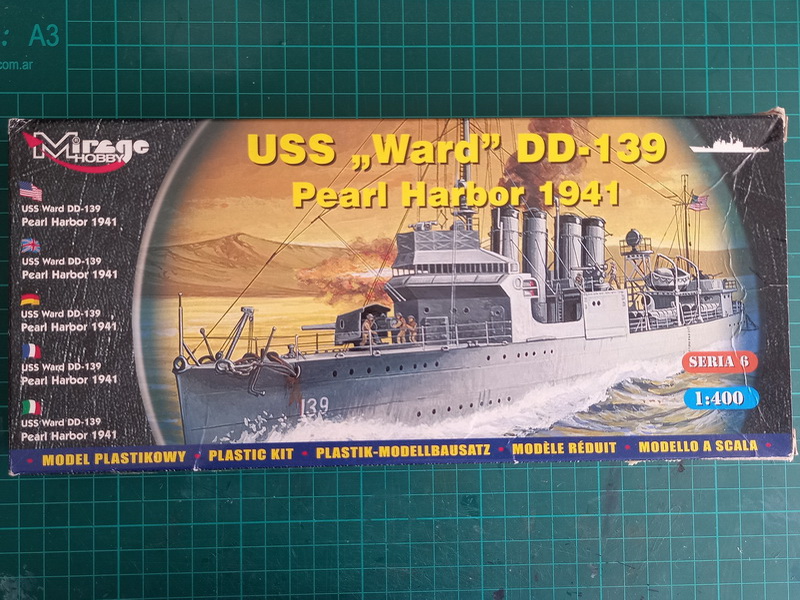
USS WARD
MIRAGE - 1:400
Año de construcción / Year of build: 2023/2024
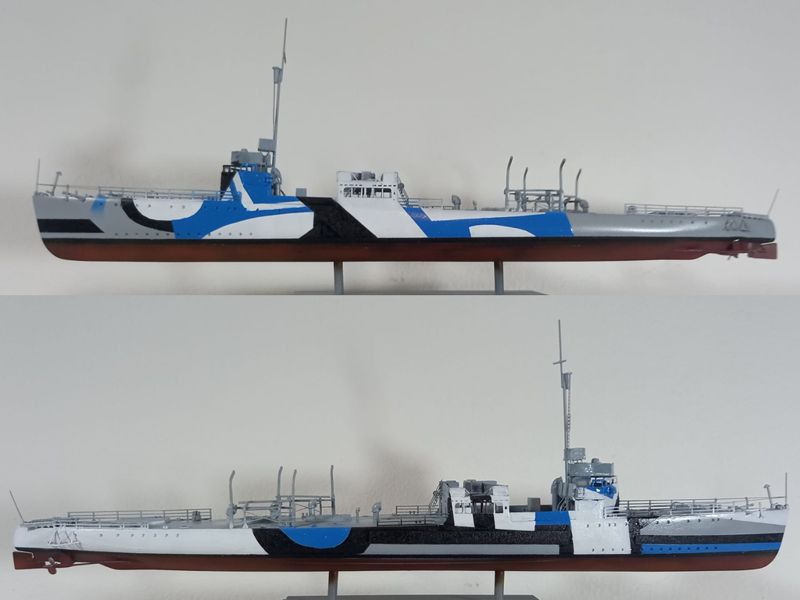
Siempre me gustaron y llamaron mi atención los destructores del tipo "four stacks" o "flush deck" de la Armada estadounidense, ahora llegó el momento de construir uno de ellos. En esta ocasión el elegido fue el USS Ward, también conocido por haber sido el primer buque en efectuar un disparo en la Guerra del Pacífico, en la SGM, el 7 de diciembre de 1941 al descubrir un submarino enano japonés en las inmediaciones de Pearl Harbour poco antes del conocido ataque de aquel día. Sin embargo, luego de investigar un poco sobre este buque, he decidido no realizarlo en su versión de 1941 -la que provee el kit- sino en la de 1918. Esta última me resulta mucho más interesante por su esquema de pintura del tipo disruptivo. El mayor desafío lo supone no sólo lograr adecuadamente el esquema de camuflaje sino, principalmente, el hacer las modificaciones que requieren las superestructuras del buque para asemejarlo a su configuración original.
I always liked and caught my attention the "four stack" or "flush deck" type destroyers of the US Navy, now it's time to build one of them. On this occasion the chosen one was the USS Ward, also known for having been the first ship to fire a shot in the Pacific War, in WWII, on December 7, 1941 when a Japanese midget submarine was discovered near Pearl Harbor shortly before the well-known attack that occurred that day. However, after doing some research on this ship, I have decided not to make it in its 1941 version -the one provided by the kit- but yes in the 1918 one. This one is much more interesting to me due to its dazzle painting scheme. The biggest challenge isn't only to properly achieve the camouflage scheme but, mainly, to make the modifications required by the ship's superstructures to match its original configuration.
Construcción
Building
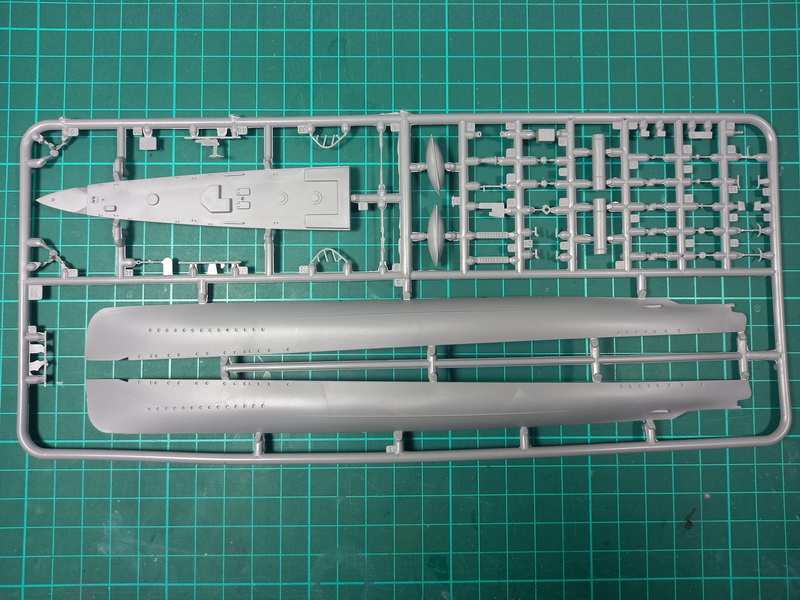
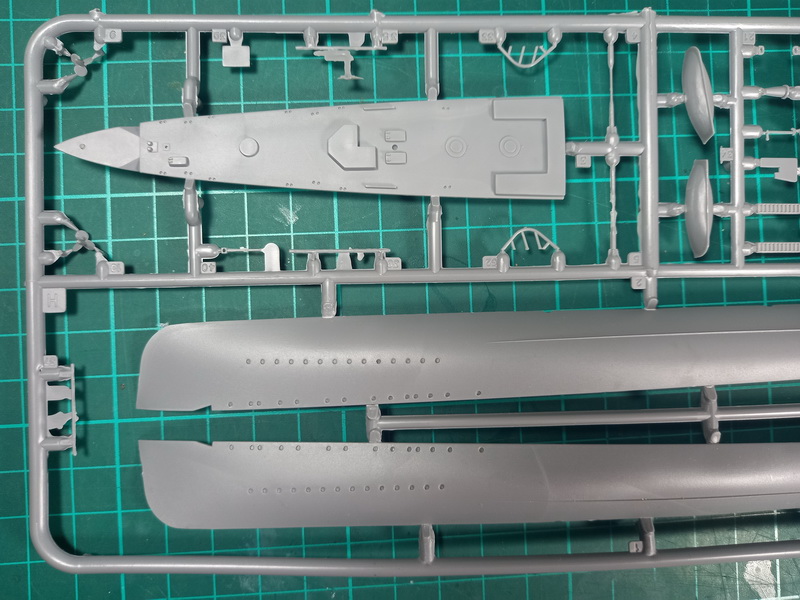
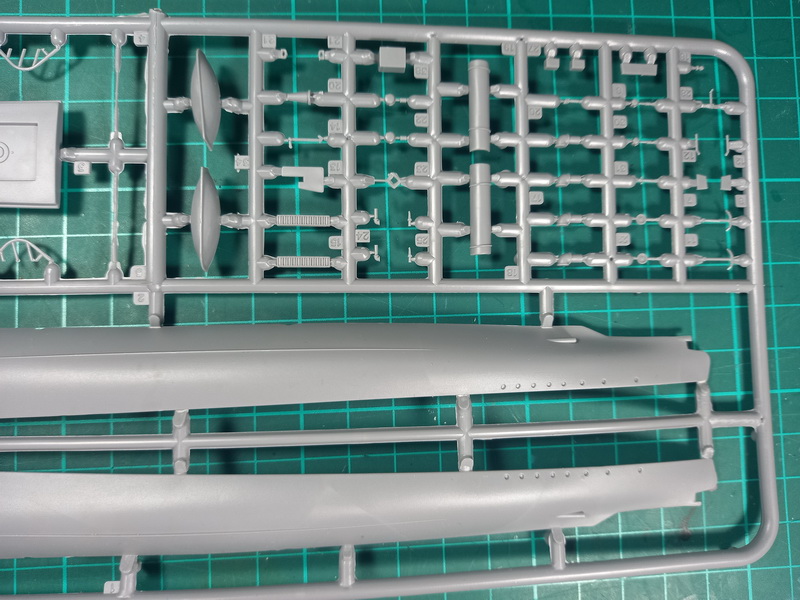
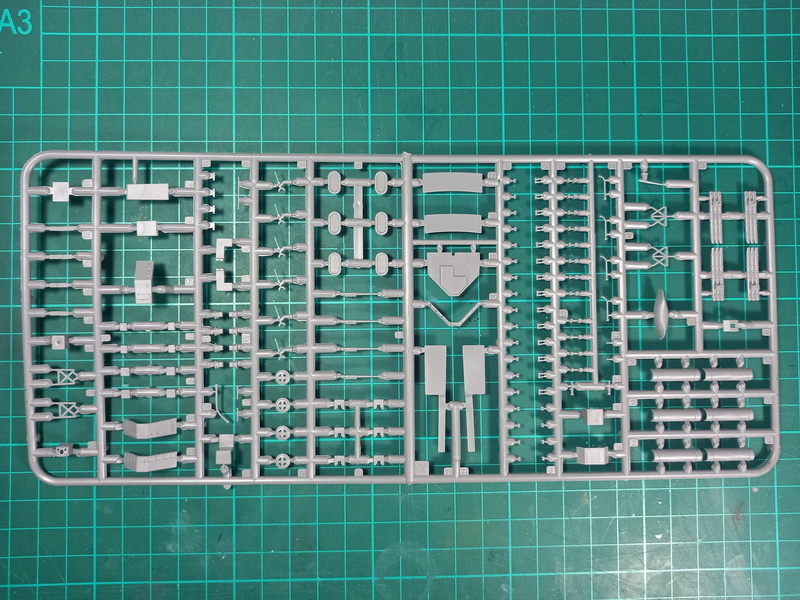
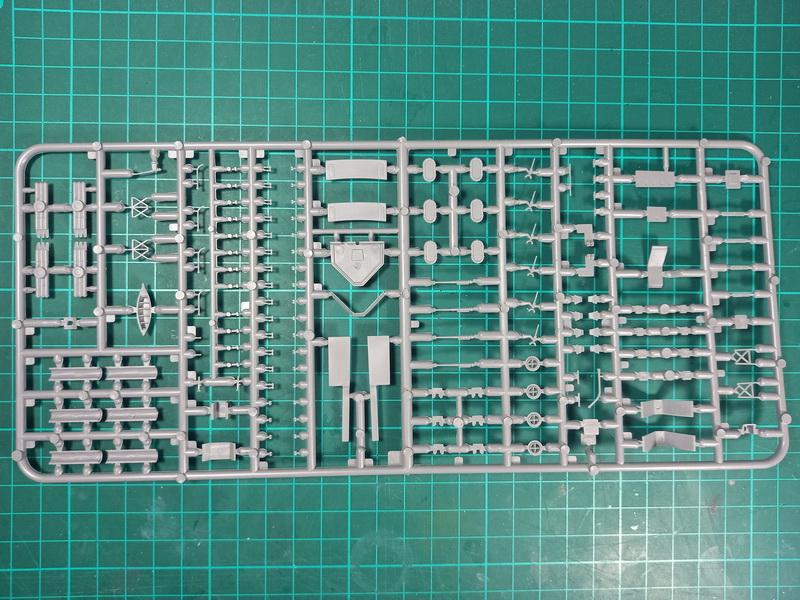
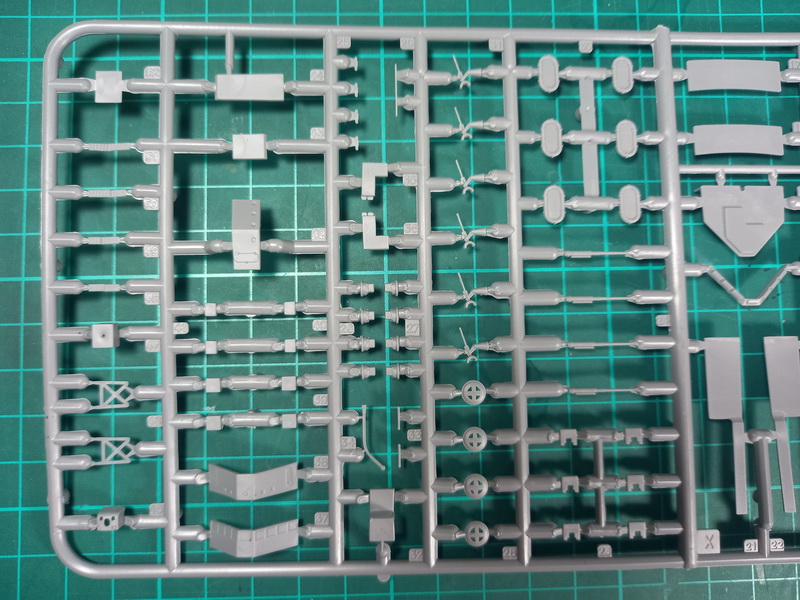
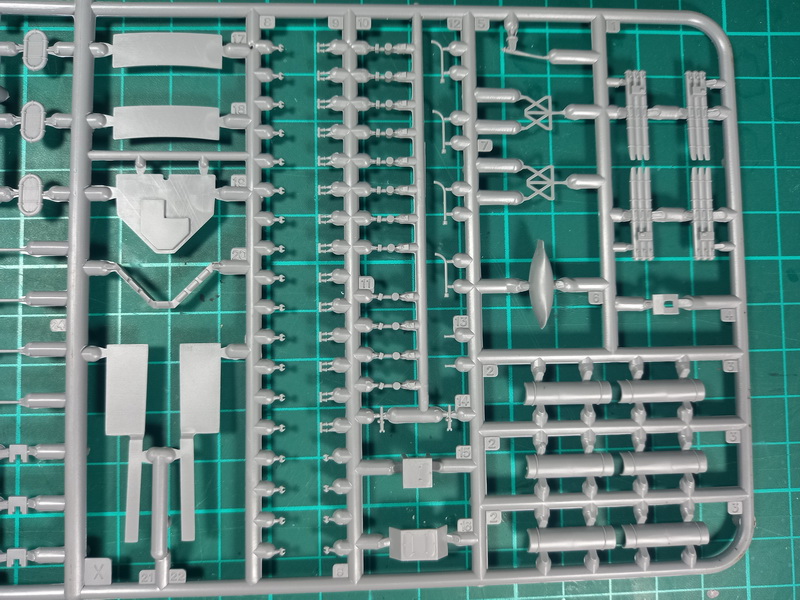
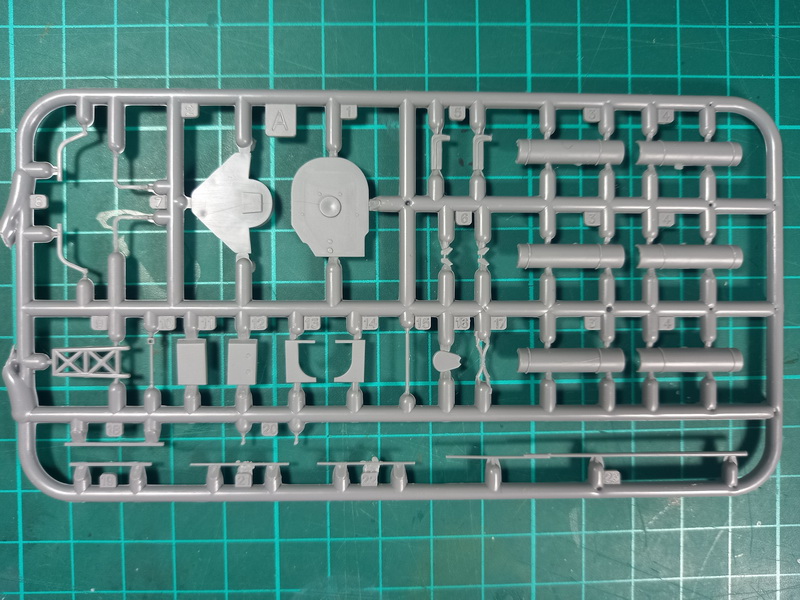
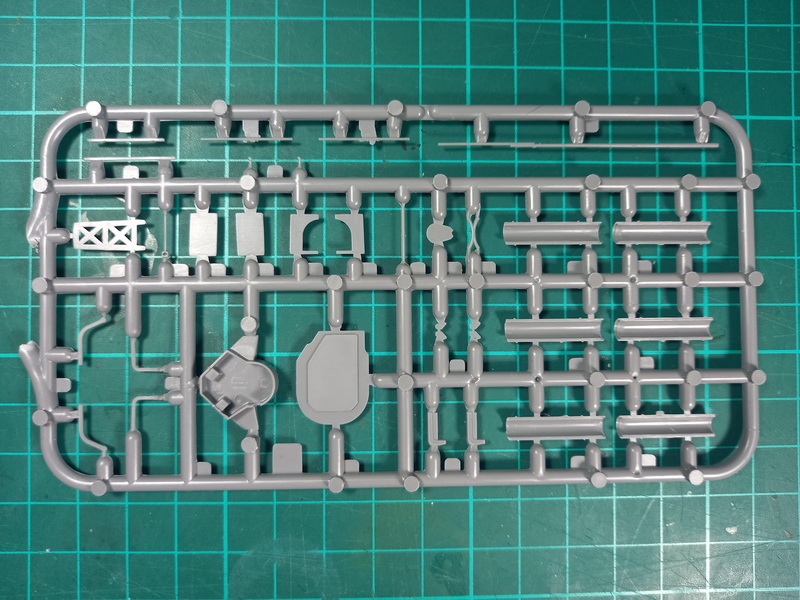
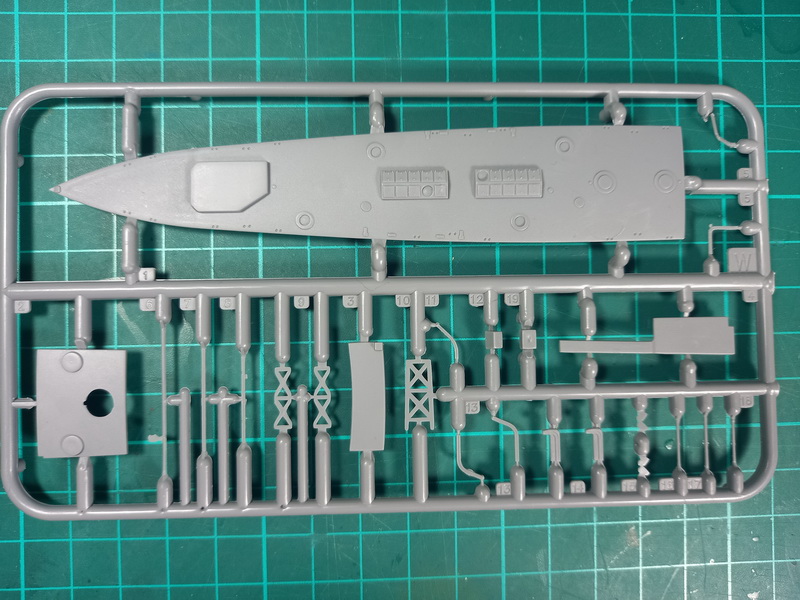
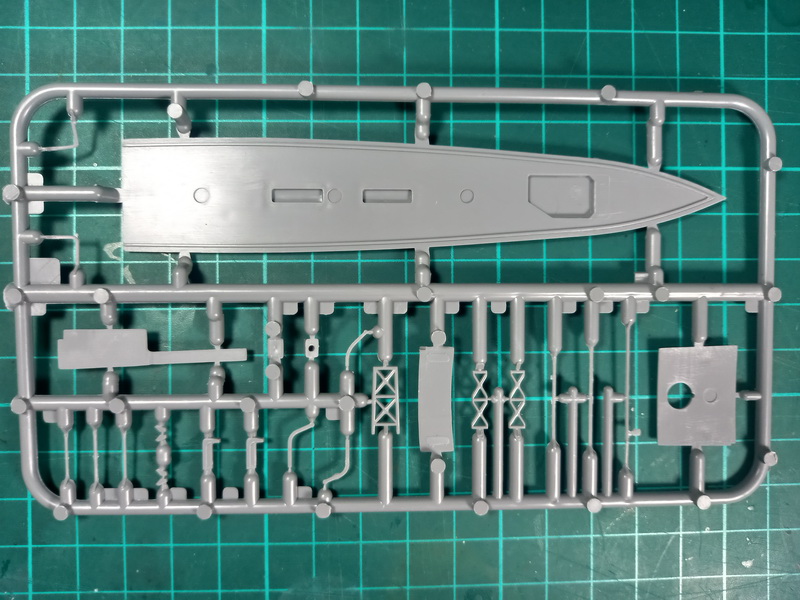
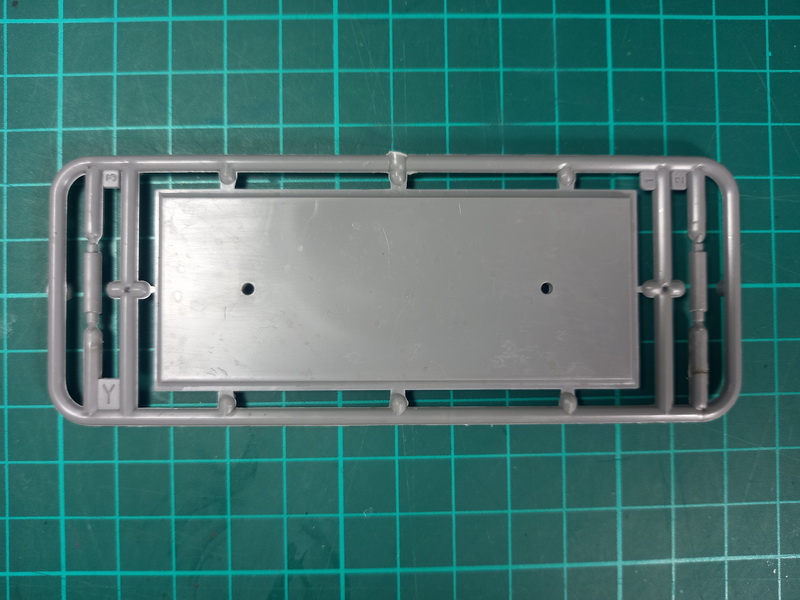
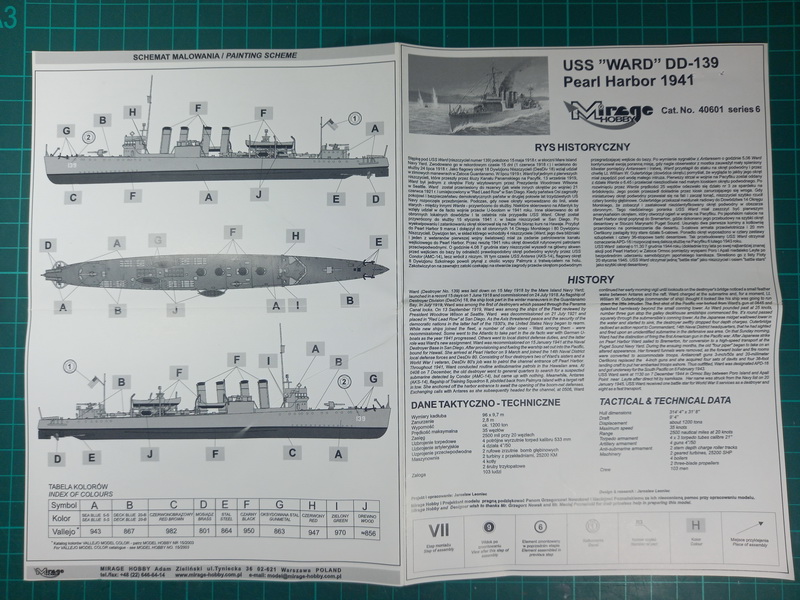
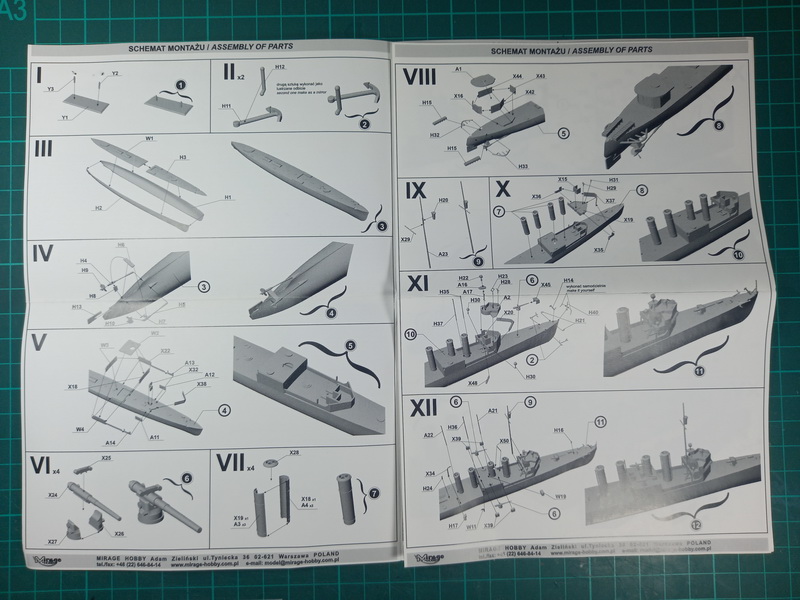
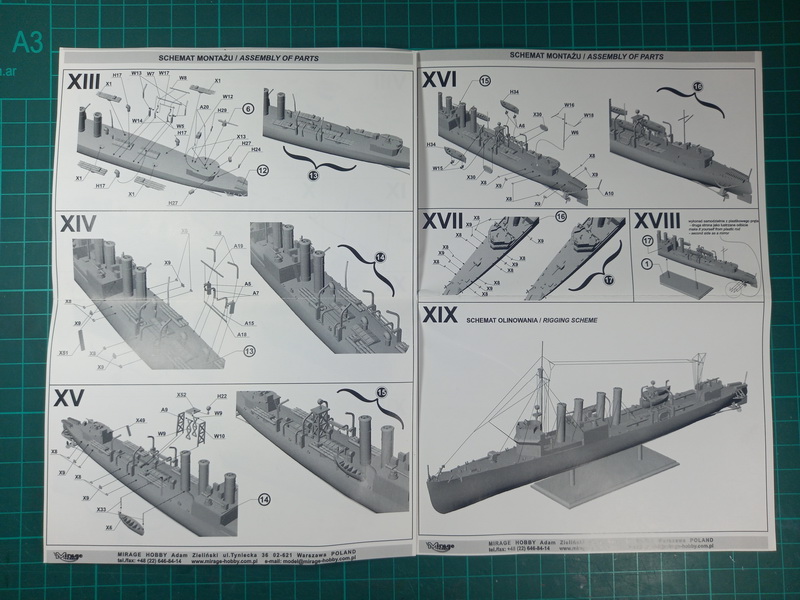
Como siempre, en primer lugar, les presento una serie de fotografías del kit y sus componentes, el cual a simple vista parece de buena calidad tanto de inyección como de detalles, logrando un interesante producto sobre todo teniendo en cuenta la relación precio - calidad.
As always, first of all, I present you a series of photographs of the kit and its components, who at first glance it seems to be of good quality in molding and details, achieving an interesting product especially in terms of the price-quality ratio.
Para ver las imágenes en mayor resolución hacer click derecho sobre la misma y seleccionar "Ver imagen / Abrir imagen..."
To see the images in higher resolution, right click on it and select "View image / Open image..."

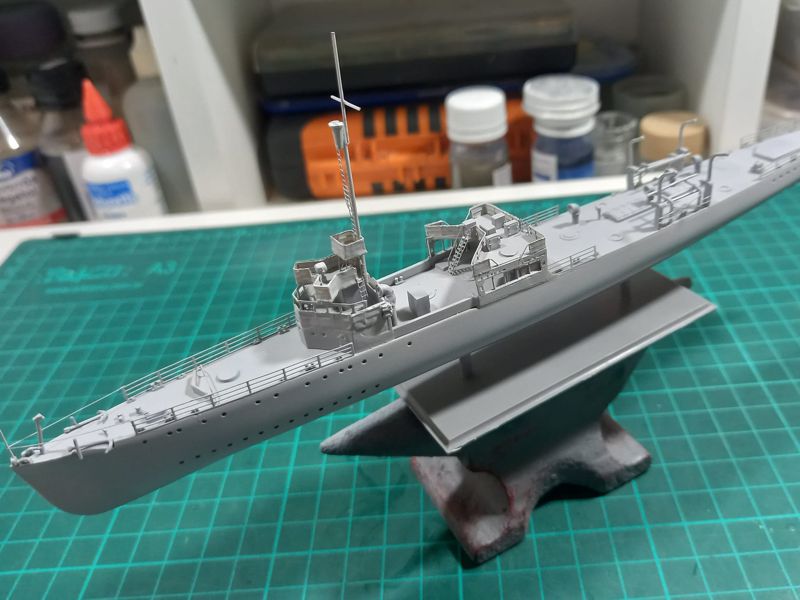
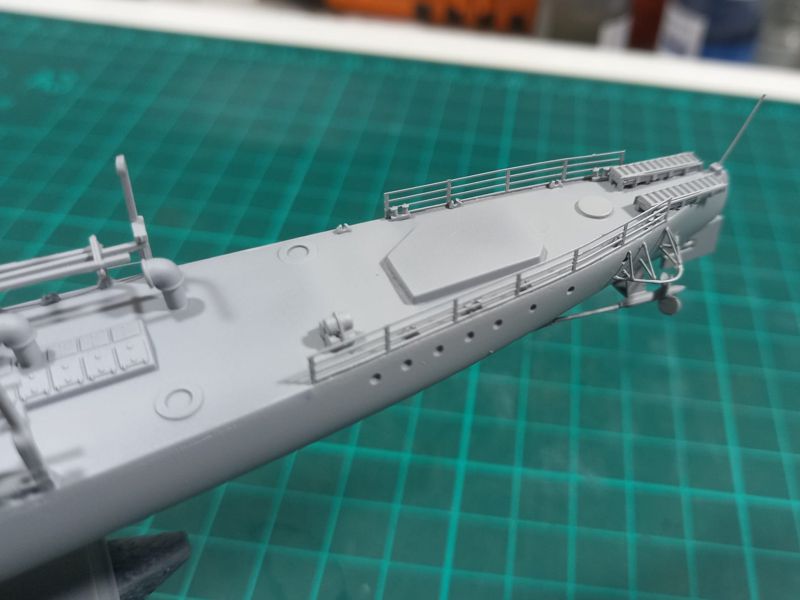
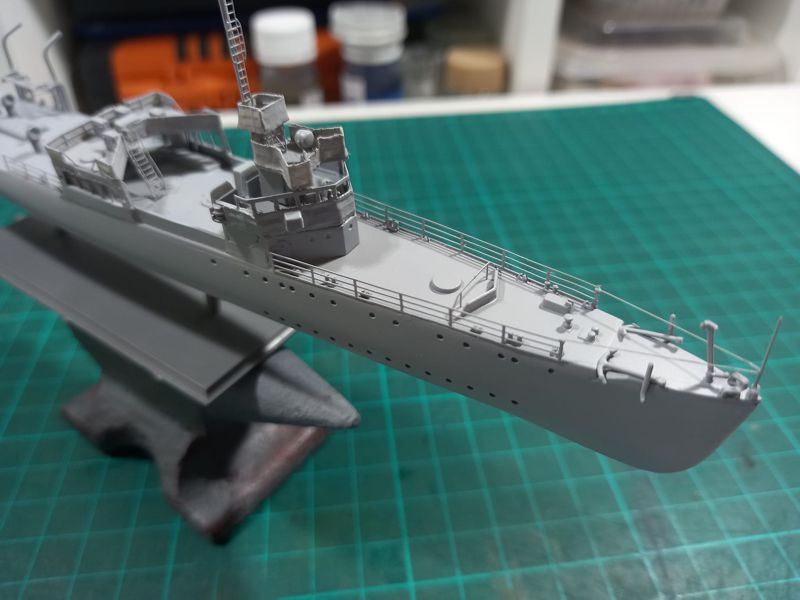
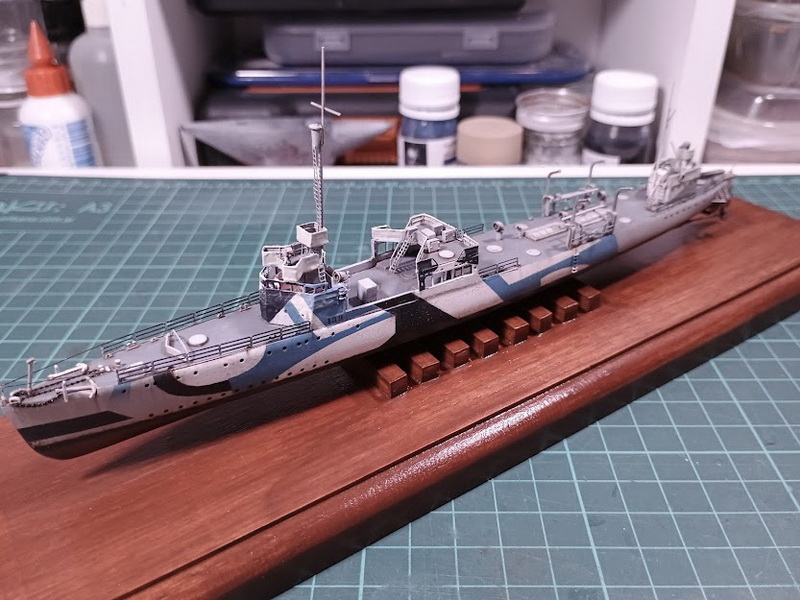
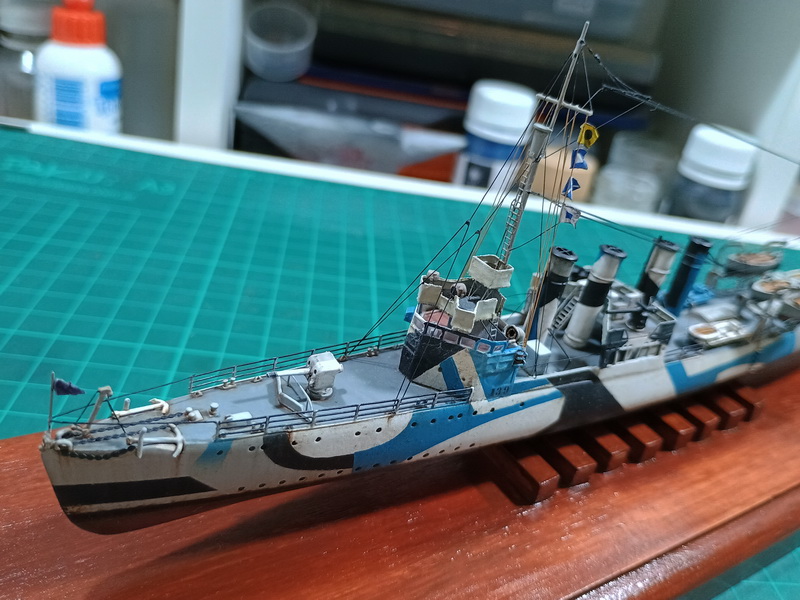
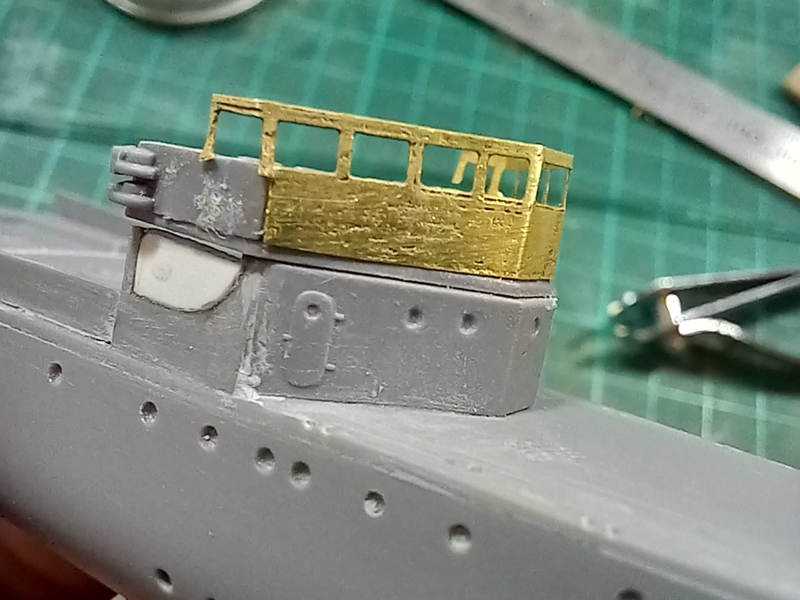
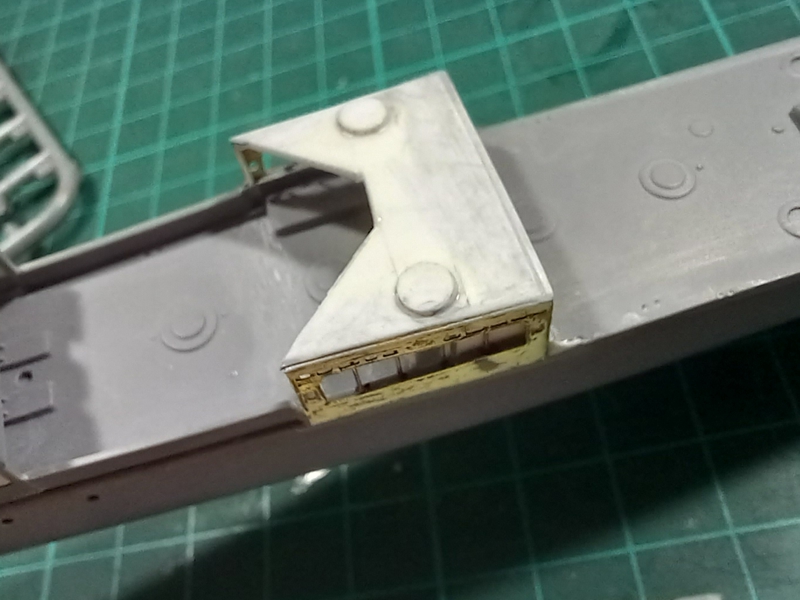
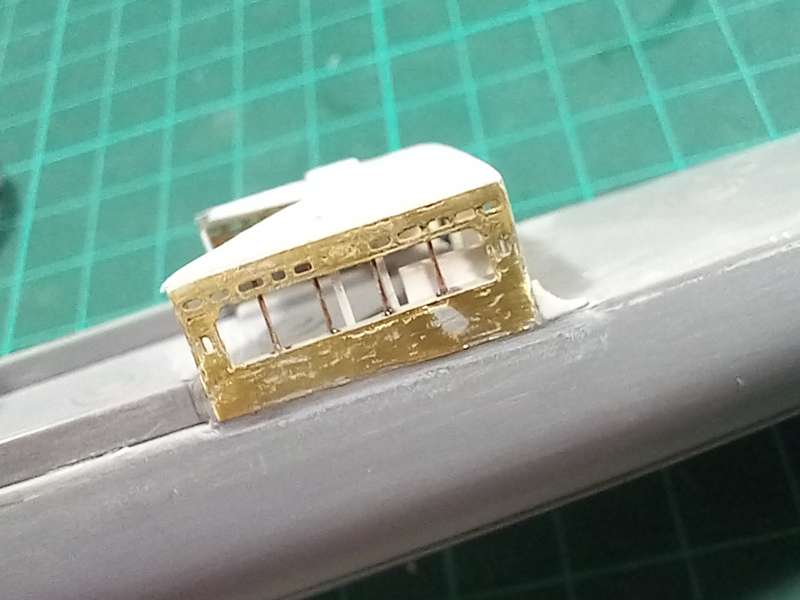
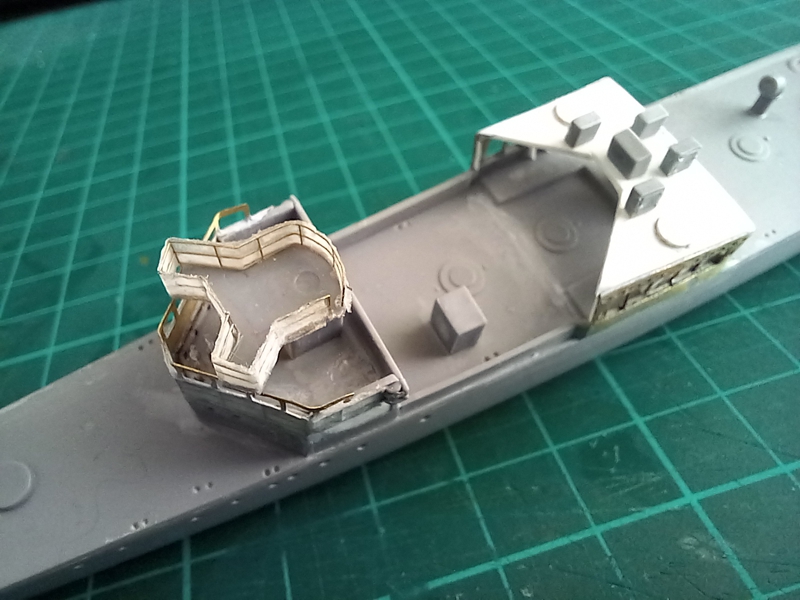
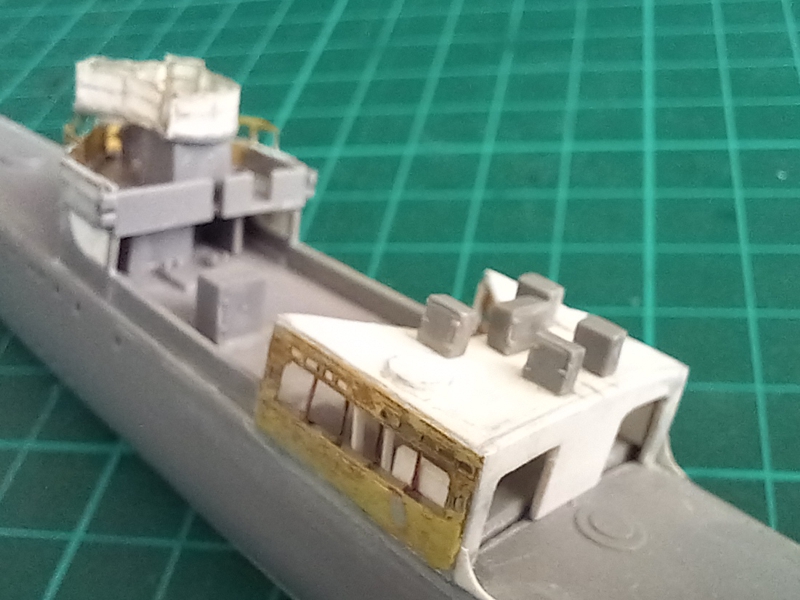
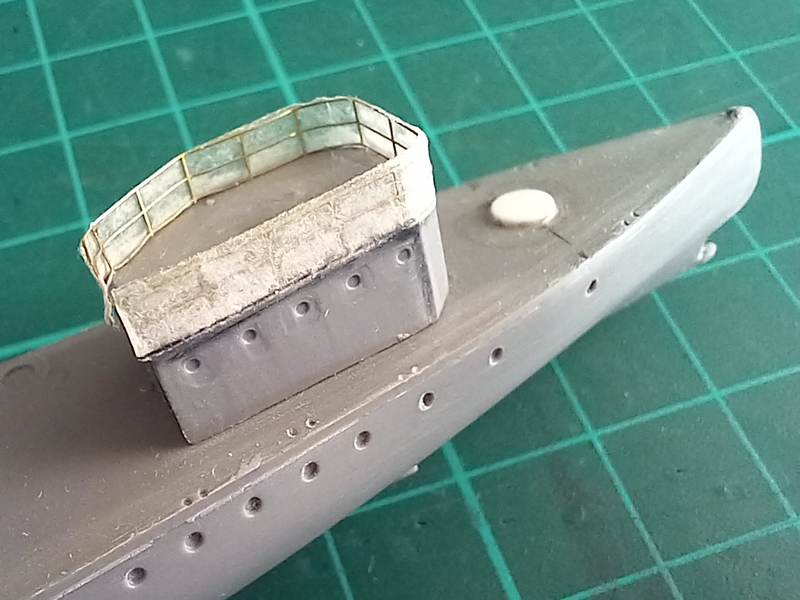
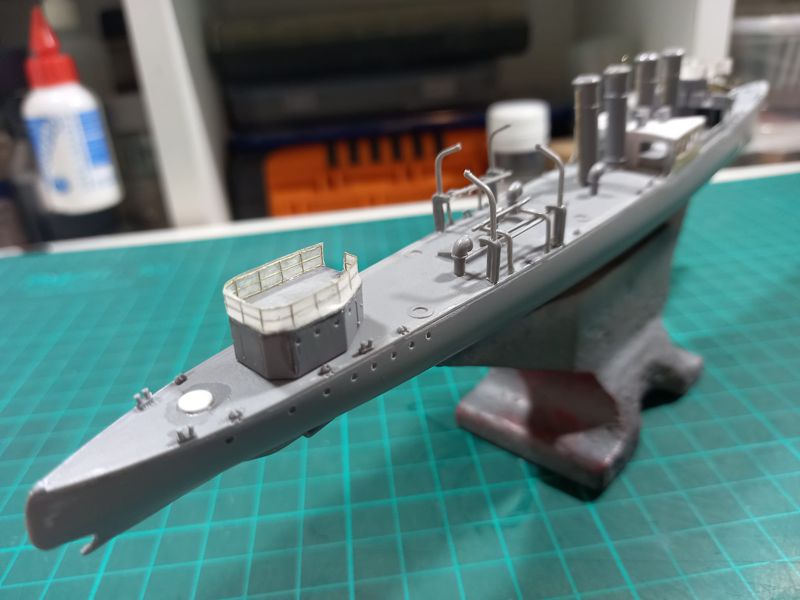
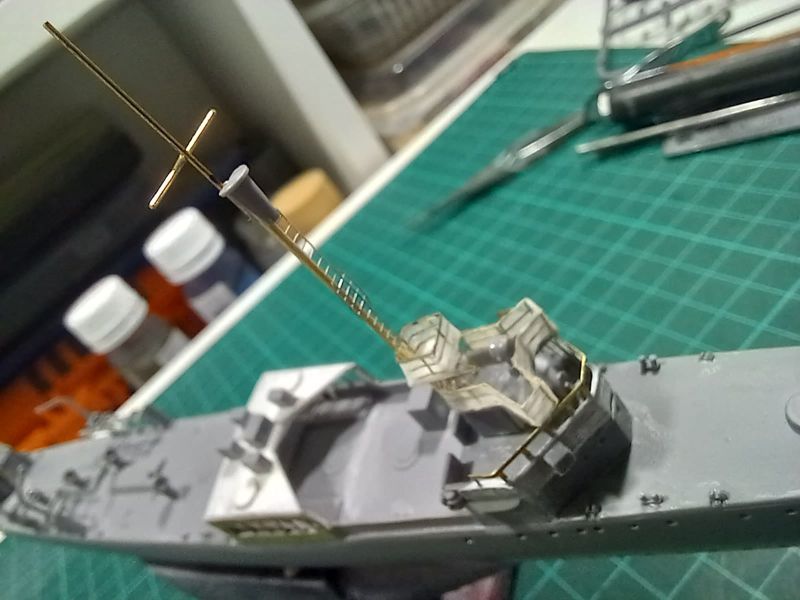
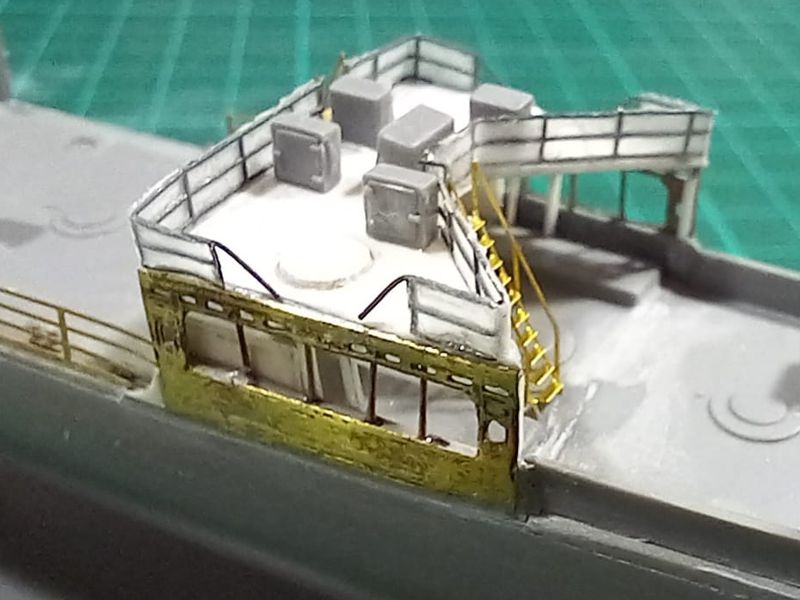
Como les mencioné anteriormente, es necesario modificar algunas superestructuras del buque para asemejarlo a su configuración original. En ese sentido, los principales cambios habrá que realizarlos en el puente y la estructura alrededor de la segunda chimenea y en la caseta de popa, achicando su tamaño y colocando el cañon sobre la cubierta principal.
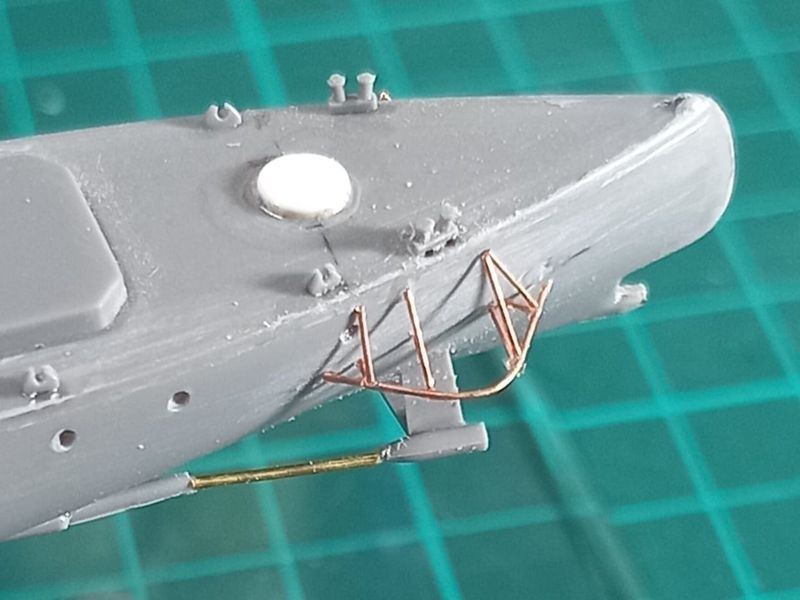
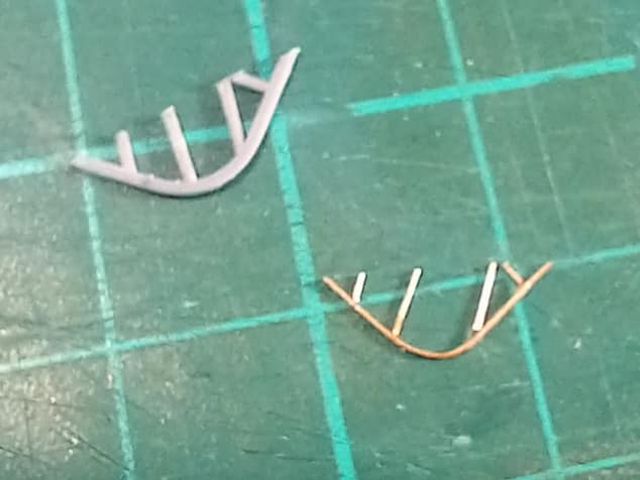
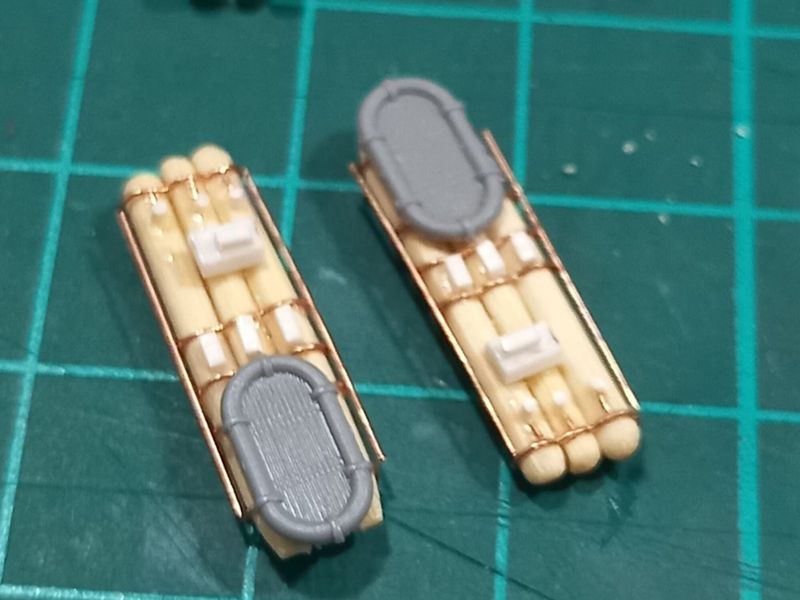
Para construir las nuevas piezas que conformarán el puente y la estructura que rodea la segunda chimenea, he decidido realizar unos fotograbados caseros ya que me resultó lo más apropiado para lograr estas partes. Para ello utilicé la misma técnica de la que eché mano al construir el ARA La Argentina años atrás. Aquí les dejo las imágenes de estos primeros pasos.
As I mentioned before, it is necessary to modify some superstructures of the ship to match its original configuration. Thus, the main changes will have to be made to the bridge, to the structure around the second funnel and also to the aft deckhouse, reducing its size and placing the gun on the main deck.
To build the new pieces of the bridge and the structure that surrounds the second funnel, I have decided to make some homemade photo-etched parts since it seemed the most appropriate to achieve these modifications. To do this I used the same technique that I used when I built the ARA La Argentina years ago. Below are the images of these first steps.


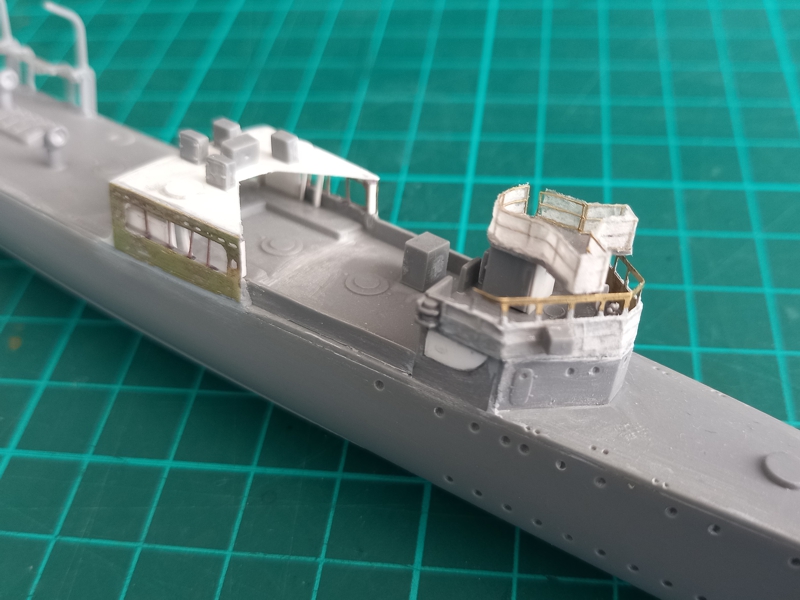
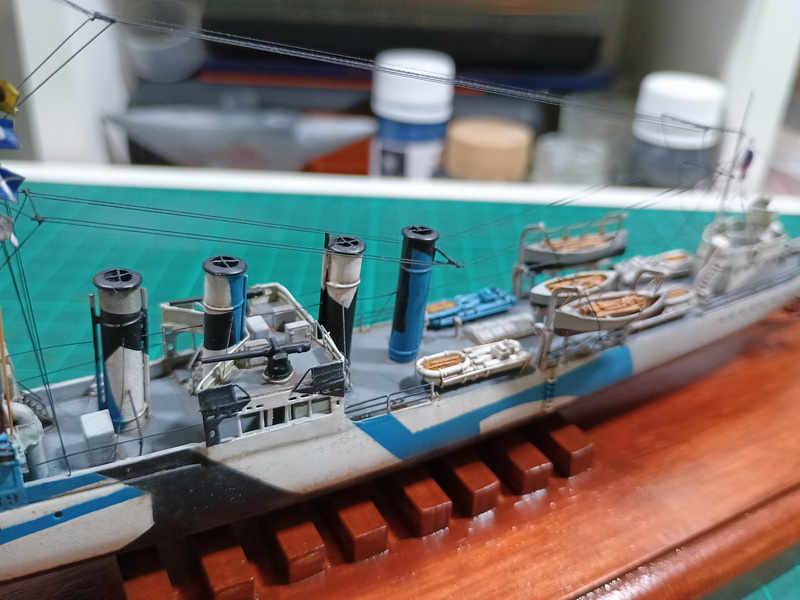
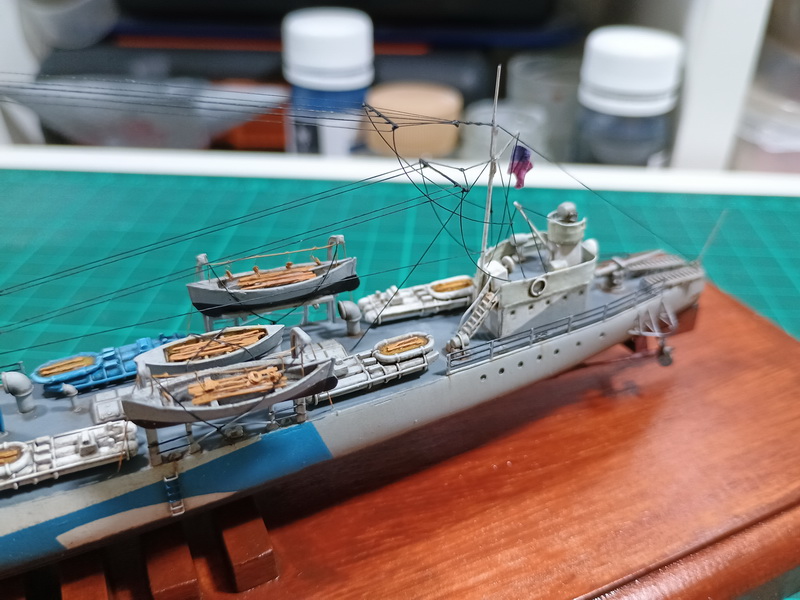
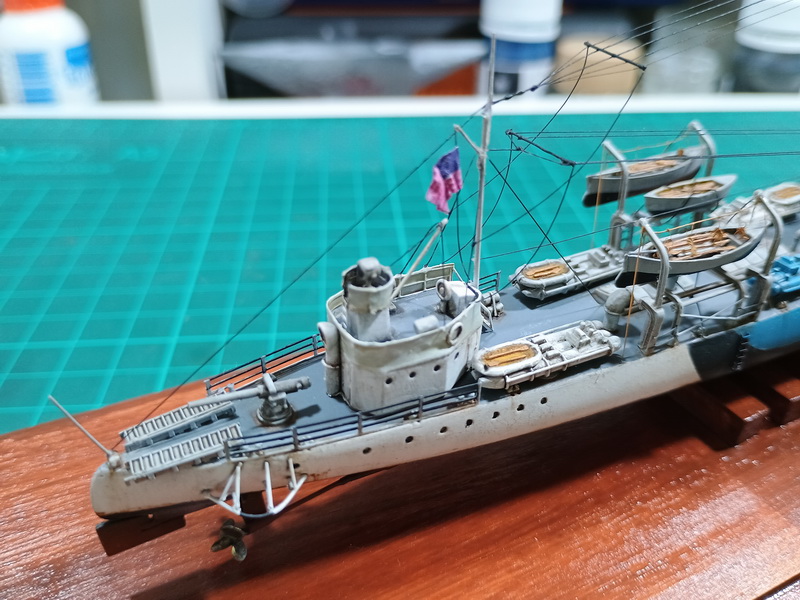
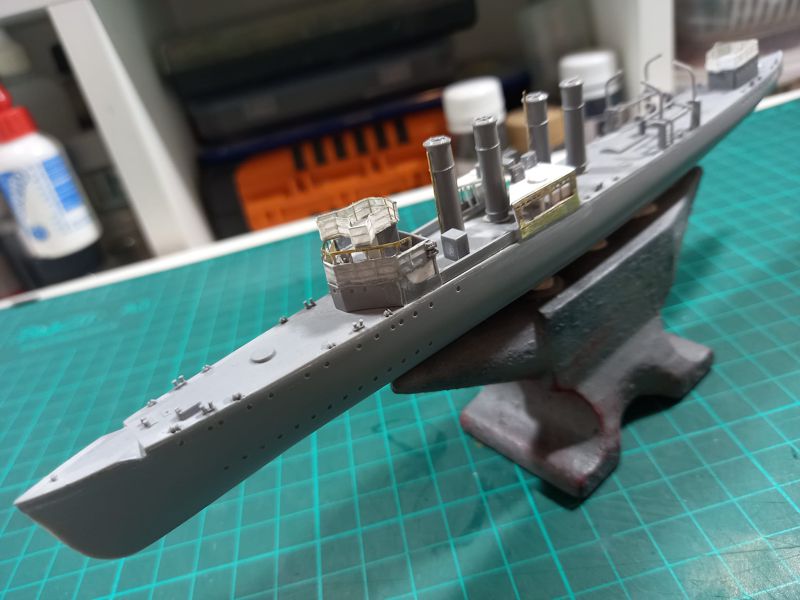
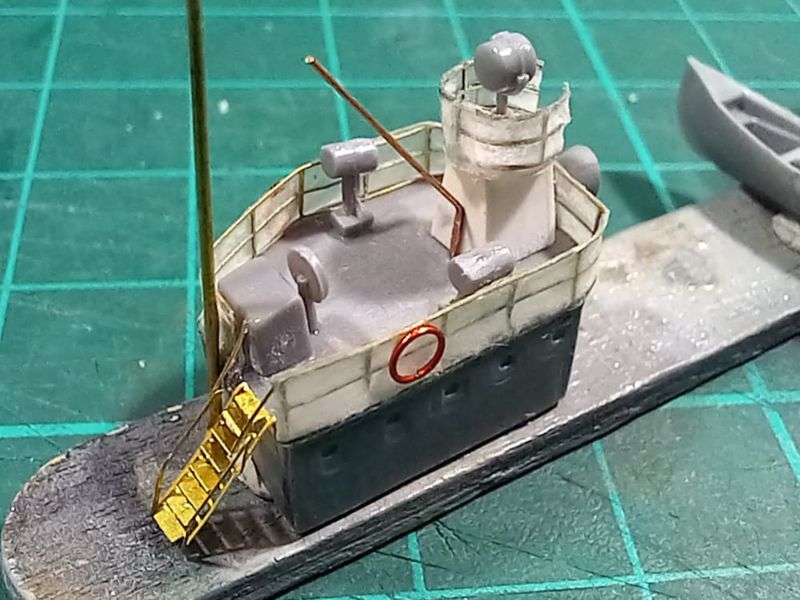
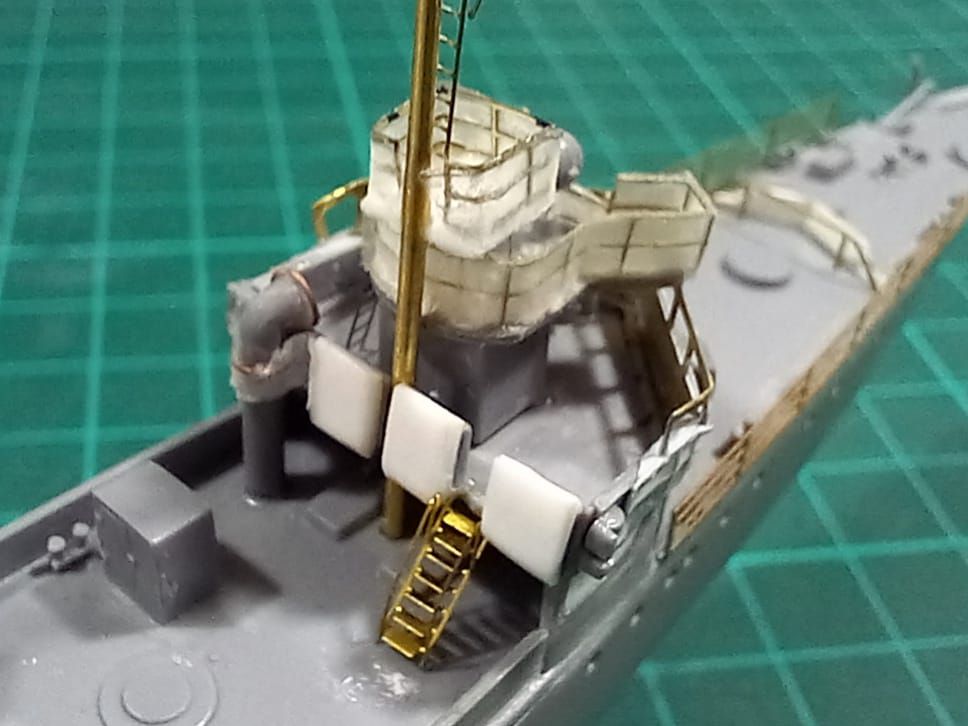
Continuando con la construcción del modelo, lo que hice fue ensamblar las chimeneas, agregando a la cuarta el soporte para los futuros aparejos. Además, reemplacé los protectores de las hélices que provee el kit por otros de construcción propia en alambre ya que los de plástico resultan muy gruesos para la escala. Un contratiempo que sufrí fue la pérdida de los tubos lanzatorpedos, que había ensamblado con anterioridad. Lamentablemente no pude encontrarlos y debí reemplazarlos por unos nuevos de construcción propia...
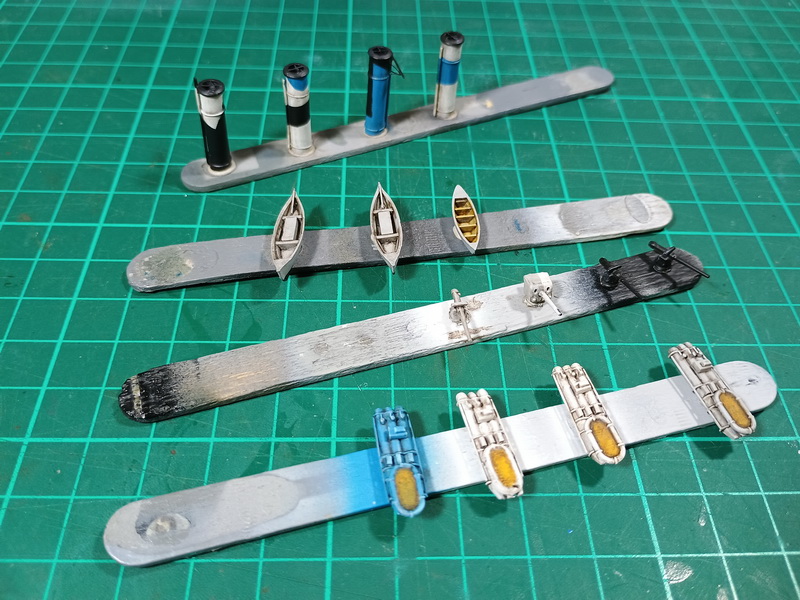
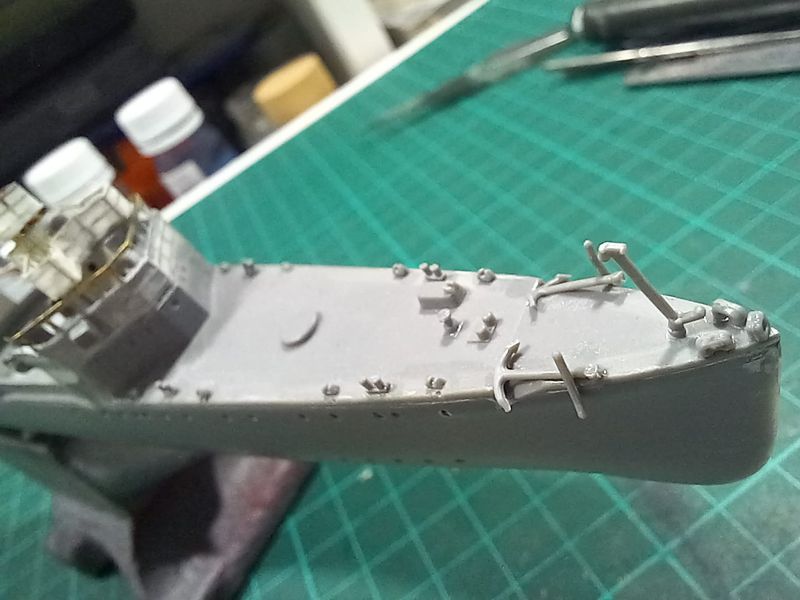
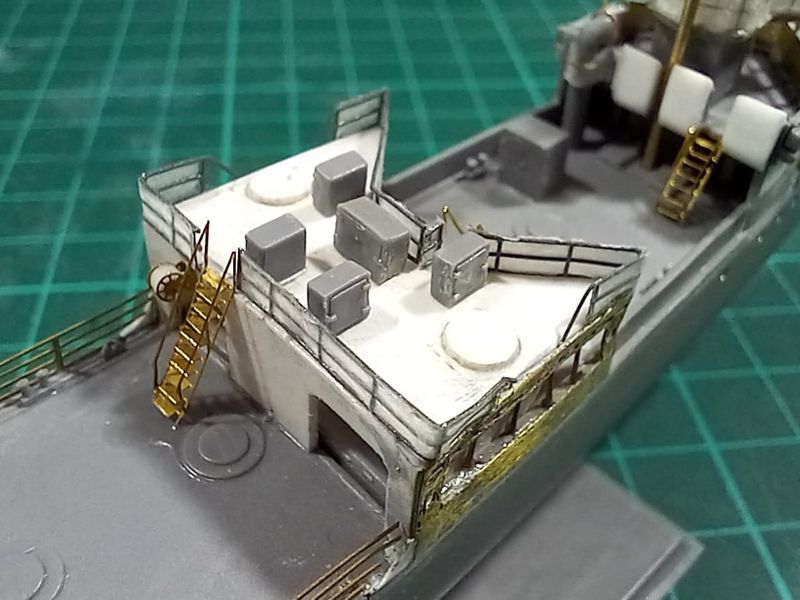
También los mástiles fueron reemplazados por unos nuevos de metal para darles más rigidez y proporción a la escala. Antes de comenzar con la pintura agregué todos los detalles del buque, con piezas como las anclas, gabinetes, tomas de ventilación, reflectores, etc. Por último coloque barandillas y escaleras de fotograbados.
Continuing with the construction of the model, what I did was assemble the funnels, adding to the fourth the support for future rigging. Additionally, I replaced the propeller protectors provided by the kit with homemade ones made from wire, since the plastic ones are too thick for the scale. One difficulty that I had was the loss of the torpedo tubes, which I had assembled previously. Unfortunately I couldn't find them and had to replace them with new ones of my own build...
The masts were also replaced with new metal ones to give them more rigidity and proportion to the scale. Before starting the painting I added all the details of the ship, with pieces such as anchors, cabinets, ventilation intakes, searchlights, etc. Finally I placed photo-etched railings and stairs.

Pintura
Painting
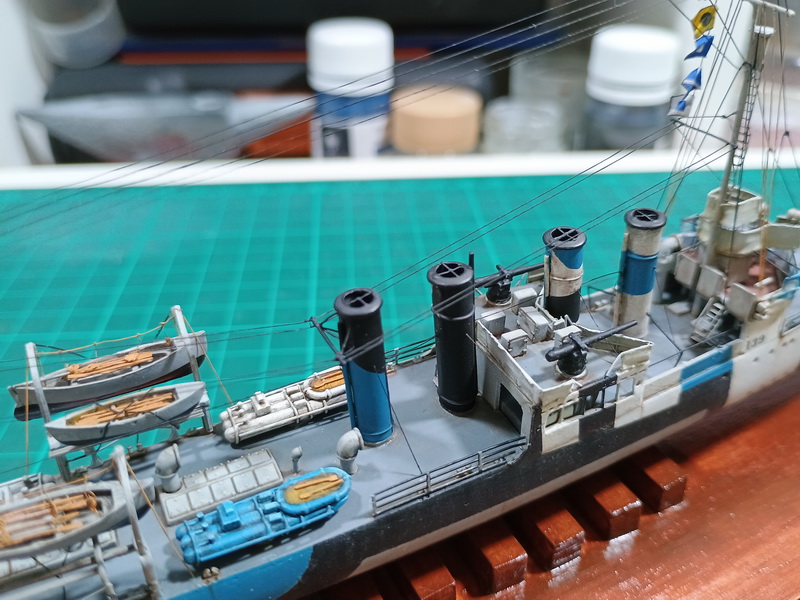
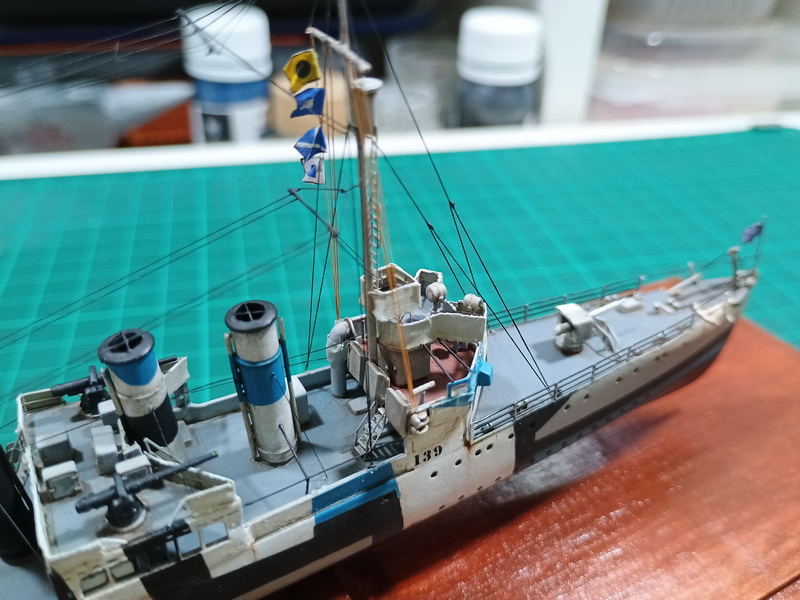
La pintura de este buque es unos de los puntos que más me han llamado la atención, pero que también representa mayor complejidad. Como he dicho anteriormente el esquema elegido me resultó más atractivo que el propuesto por el fabricante. Luego de aplicar una mano de imprimación gris de El Ogro, lo que hice fue pintar en primer término la obra viva del buque para luego dar lugar a los múltiples enmascarados y colores para lograr el camuflaje, todo también con pinturas poliuretánicas de El Ogro. Finalmente sólo resta degastar y ensamblar todos los componentes para finalizar el trabajo.
The painting of this ship is one of the points that has caught my attention the most, but it also represents greater complexity. As I said previously, the chosen scheme was more attractive to me than the one proposed by the manufacturer. After applying a coat of gray primer from El Ogro, what I did was first paint the lower hull and then carry out the multiple masking and colors to achieve the camouflage scheme, all also done with polyurethane paints from El Ogro. Finally, all that remains is the weathering and assemble all the pieces to finish the job.